In the spring we had a load of firewood delivered. We were expecting limbs of an oak tree that were between six and eighteen inches in diameter, and my husband was willing to cut, split and stack these for burning this winter. We weren’t home when the load was delivered, however, and along with those anticipated limbs we got seven large, heavy tree trunks. They were huge and there was no way that they could be split for firewood.
After Dan finished splitting the reasonable logs, we stood looking at the massive trunks that remained. “Well….” I said, “if you can get them grouped vertically I can do something with them.” With the assistance of neighbors, a small tractor, and a couple hours of sweaty maneuvering, that was accomplished.
My thought was to create something magical…a fairy garden that become life-sized. Here is what I did and how it looks this far. I’ll post updates later on, and for the time being I’m loving what has grown while already planning for what I’ll do here for the winter and beyond.

Here is what the stumps looked like once they were upright. I grouped them in this arrangement and the three guys got them into place so they are sturdy and anchored.
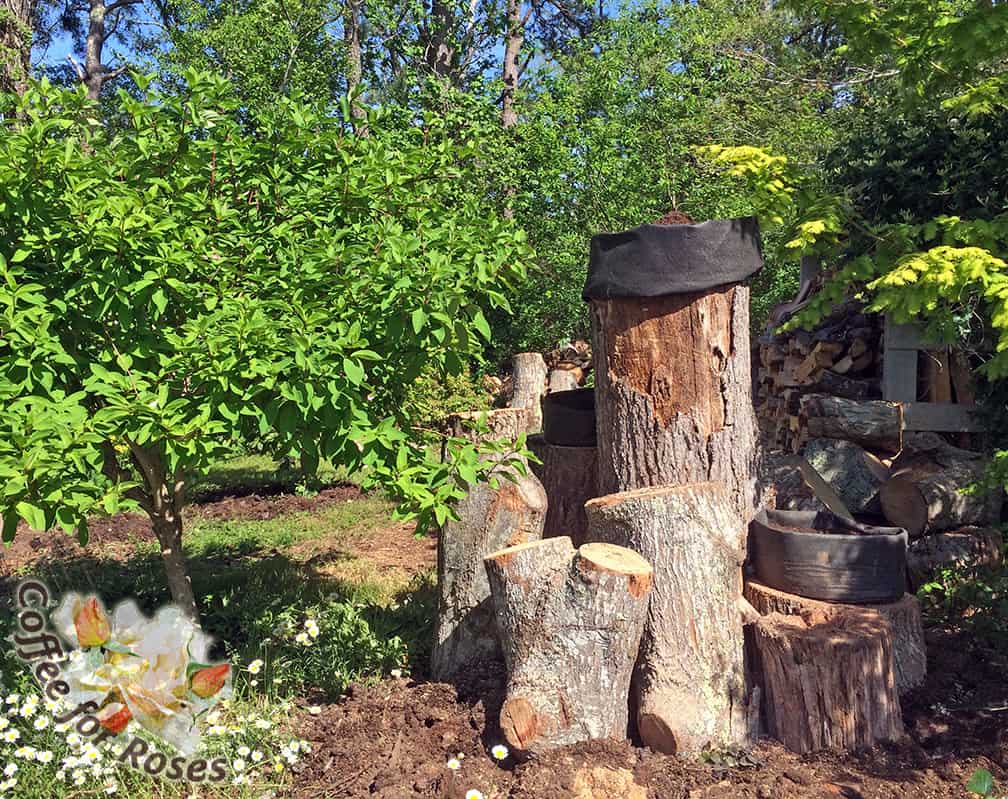
The next step was to amend the soil around the base of the stumps with composted manure, and to put the Smart Pots on the top of three of the stumps for planting. Note: I anchored the pots on the top of the logs with a thin board and nails so that there was no way that the fabric planter could slip off. Then I filled the three Smart Pots with potting soil.
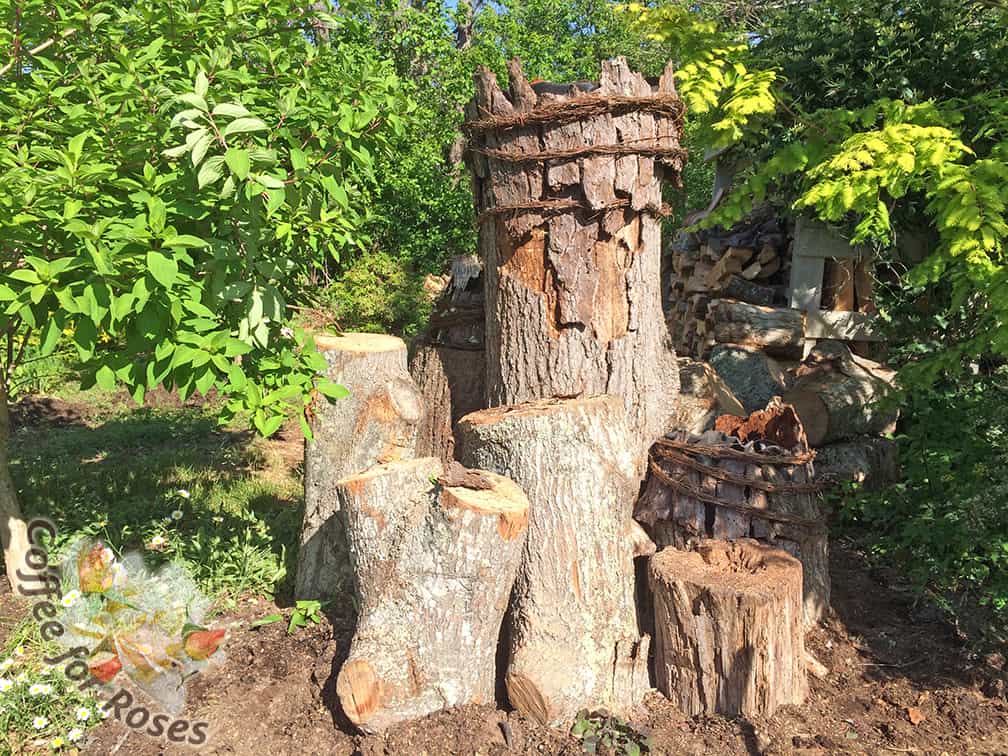
Next I set about covering the bags. First I wrapped two strands of bark-covered wire around each bag so that it was just snug but not thight. Then I stuck sections of bark under those two wires. The bark and wires served two functions: they obscured the fabric bags and they also provided a somewhat rigid frame that held the potting soil in place and prevented the Smart Pot from sagging. Once all the bark panels were in place I took a twig garland that I’d purchased from the craft store and wound it around for extra support and decoration.
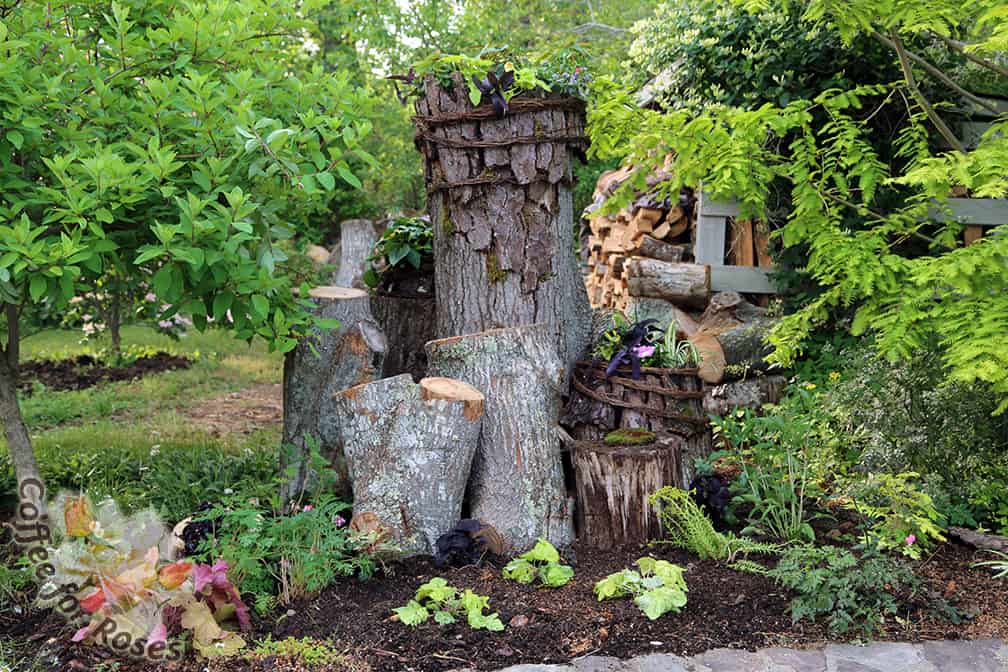
Finally it was time to plant! I added a combination of annuals in all three bags, including a few that are commonly thought of as houseplants. After the bags were filled I planted perennials and Clematis around the base of the logs and added mulch.
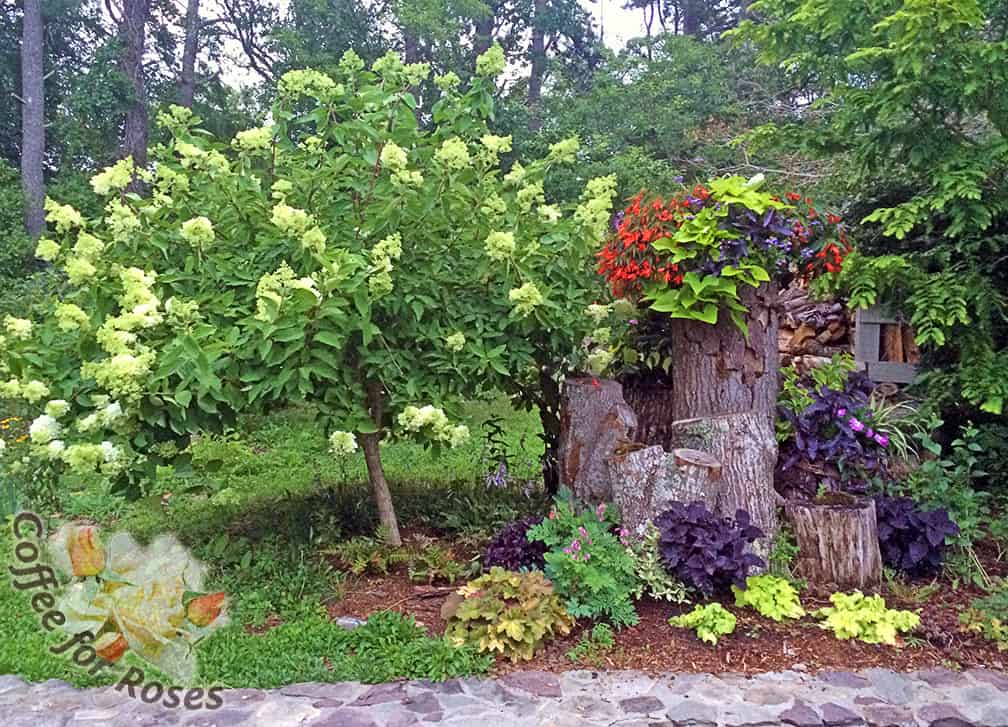
The annuals have grown in so well that it’s hard to see the planter, and all of the plants at the base of the logs are filling in nicely. A fairy garden sprung to life-sized! I also planted moss on the tops of some of the logs and tucked moss into the cracks to soften hard edges.


