
What’s a cane topper? It’s an attractive way to cover the ends of bamboo, metal or wooden stakes in the garden. In a pot or in the ground, gardeners often use a group of three to five stakes around plants to create a pleasing support. But sometimes just tying those poles at the top isn’t the most desirable solution. A cane topper not only holds and covers the ends of your supports, but it adds a decorative and often whimsical element to the garden while your plants grow. Win, win and grin!
I touched on the cane topper in December in my post about using an upside down tomato cage for an urn display. Here are more complete instructions for making these charming, inexpensive pieces over the winter so that you’ll be ready to use them in the spring.
The small flowerpot is the structural item – be sure it’s one with a drainage hole as the screw needs to go through that. The decorative elements can be anything you can screw into for the tops. Go to crafts stores and look in the unfinished wood section – finials, wheels, knobs, balls etc are all fine. Paint them any color you wish. You can also use any other wooden decorative elements as you can see from the photos below. The clay is for sticking into the pot before you put it over the canes or stakes – it helps make the topper stable and holds it in place no matter what wind, weather or critter comes along.

Here’s what you need: Small flower pots (three to four inch diameter), a thin screw that’s about an inch to an inch and a half long, a washer, wooden pieces of your choice, a screw driver, craft clay, and perhaps a drill.

This is how it goes together. Put the washer on the screw, and put that through the hole in the pot and into your decorative wooden pieces above. A thin screw goes easily into wood pieces without drilling, but if you’re using dense wooden items or thicker screws you might have to pre-drill holes first.
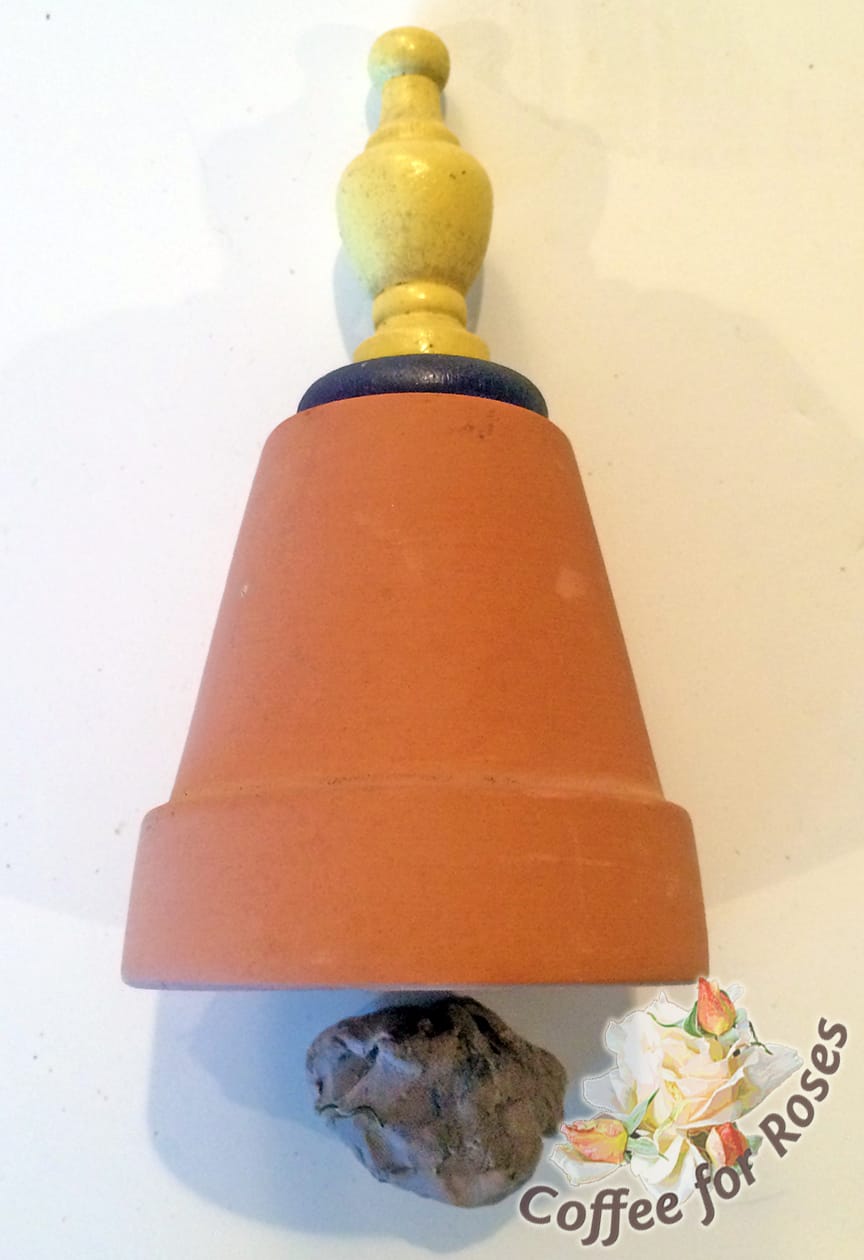
One the pieces are firmly in place you put the clay in the top and then mount the topper on the stakes.
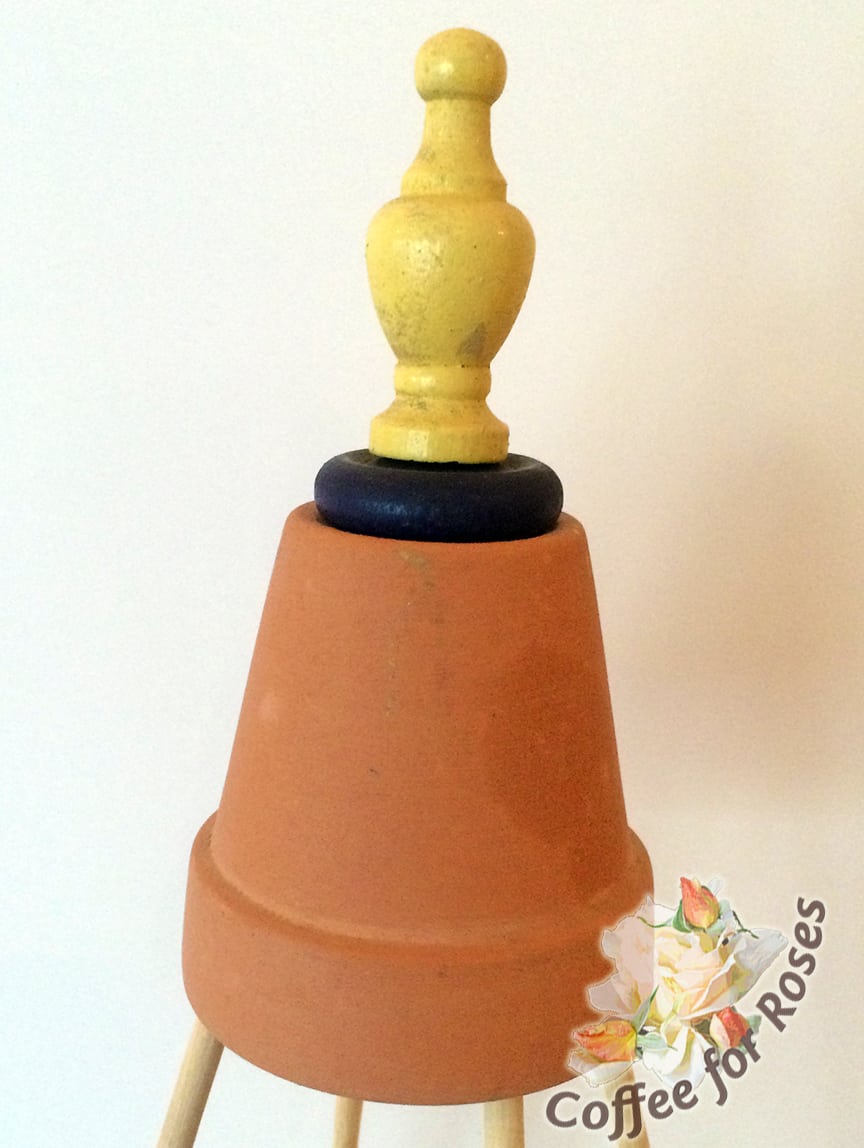
Ta Dah!
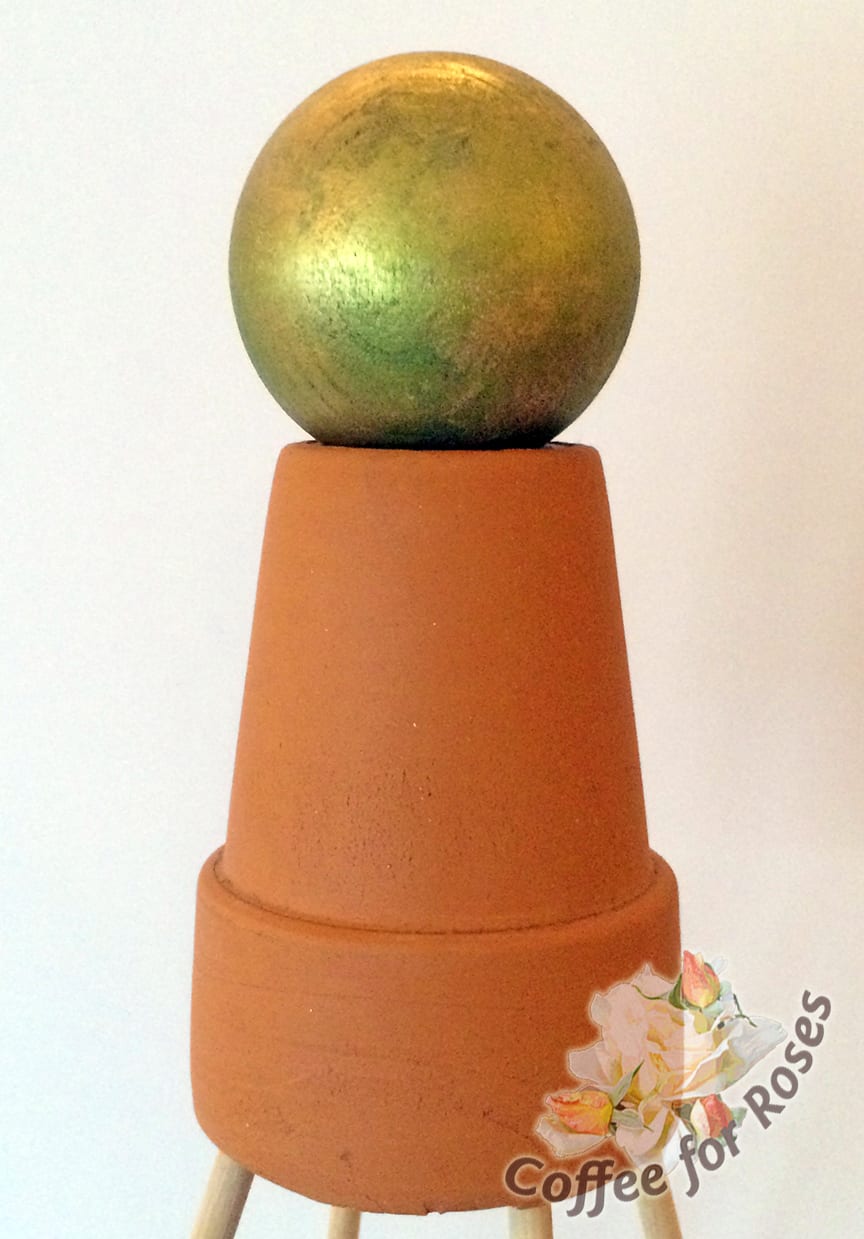
Now for some options. Here, a wooden ball has been painted and put on the pot.
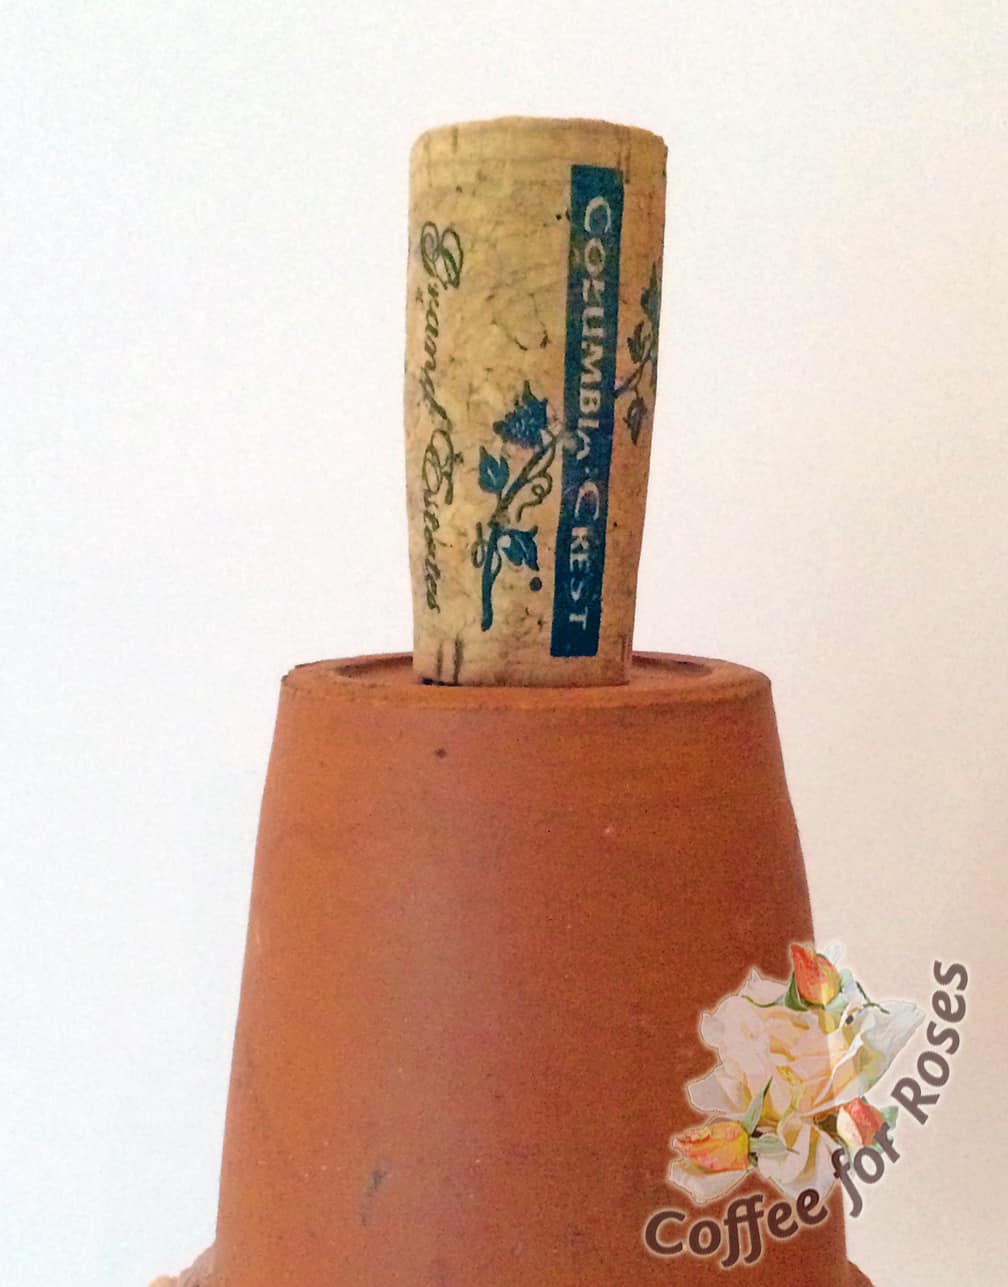
You could use wine corks…
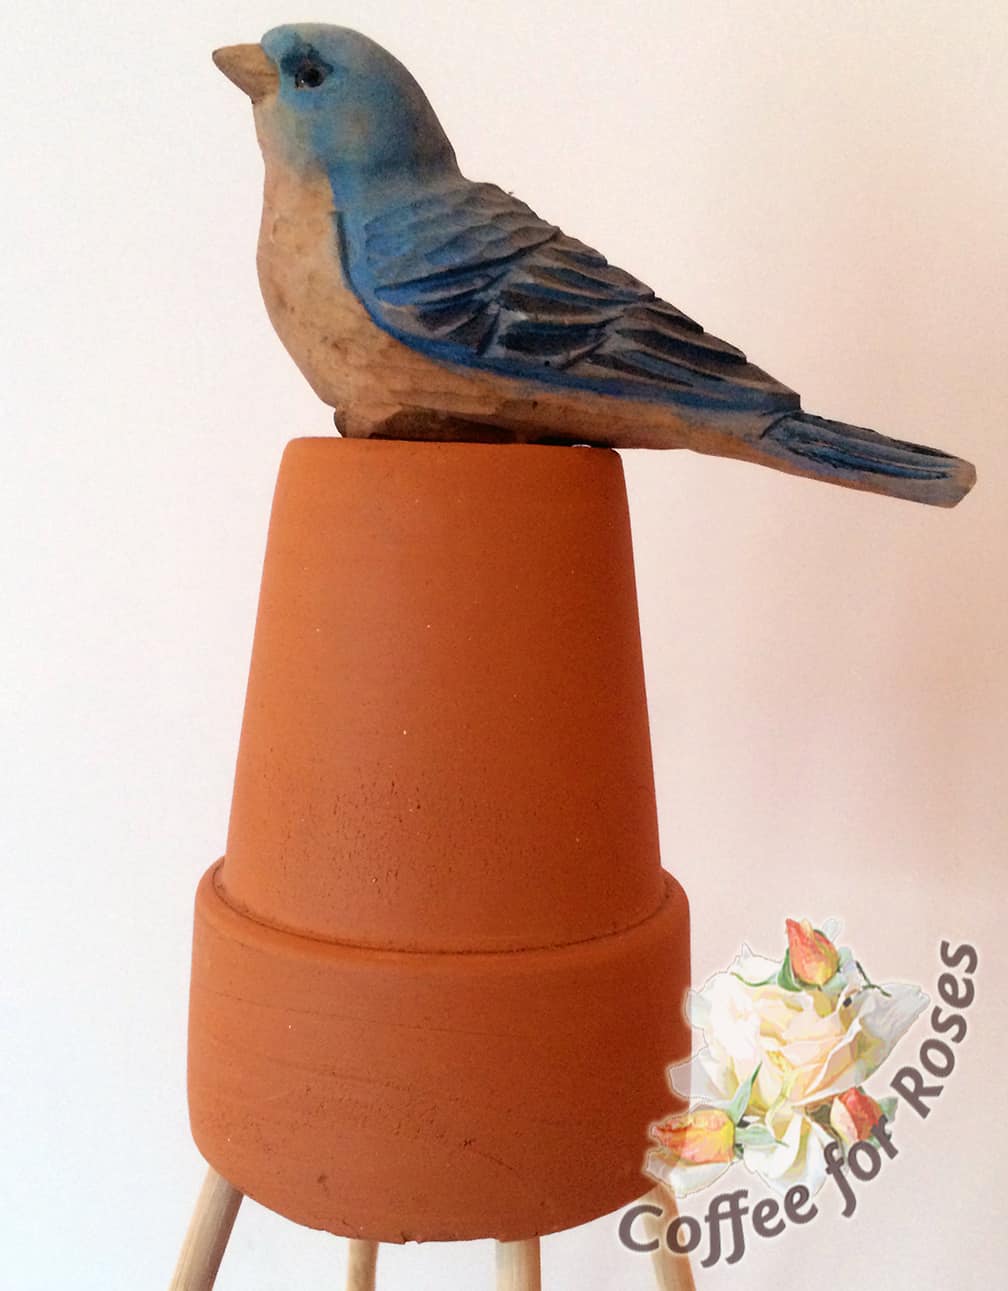
Or wooden bird ornaments…

Or decorate the bottom of the pot with shards, shells, or tiles and put a piece that echoes the decor at the top. Since this pot has shells and a found-on-the-beach theme, I used a piece of driftwood on the top.
Have fun with it! Winter is the perfect time to get creative with garden crafts indoors and you’ll be ready to decorate your cane supports in the spring.


