
Here is how to use a tomato cage on the top of an urn or large flower pot to create a pretty Christmas into winter display. I used a tomato cage that was already red. You can use the standard silver color, or spray paint it any color you’d like.

These urns were made more festive by combining a simple tomato cage placed upside down on the urn with rice lights wound around them and a flower pot “cane topper” placed on top.
Here’s how to proceed with this simple front porch decor:
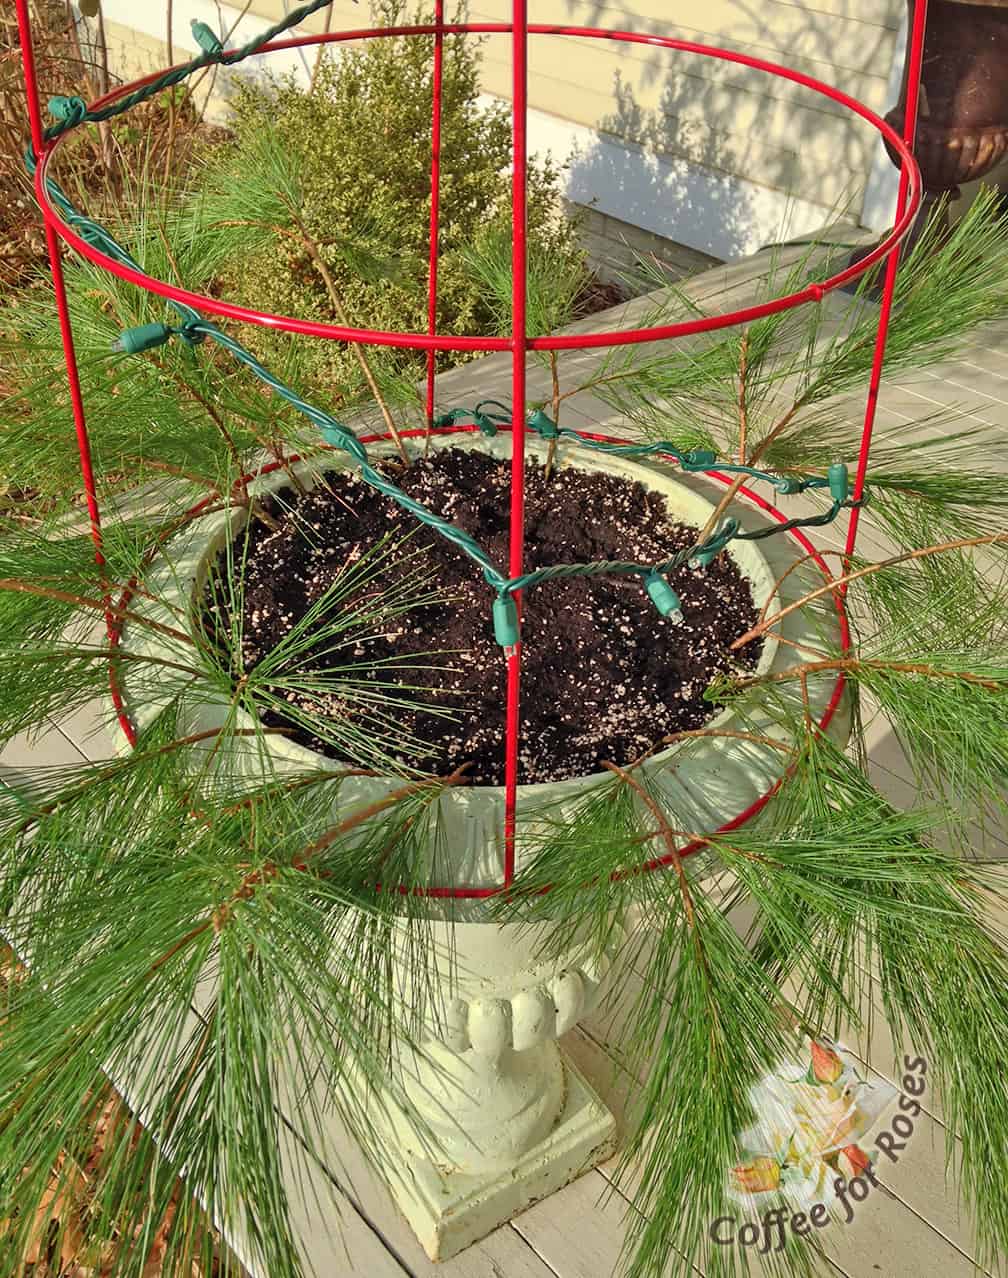
Place the tomato cage on top of the urn. I wired it down under the rim of the urn but frankly, the greens stuck into the soil will hold this in place. Wind the lights in a spiral up the basket.
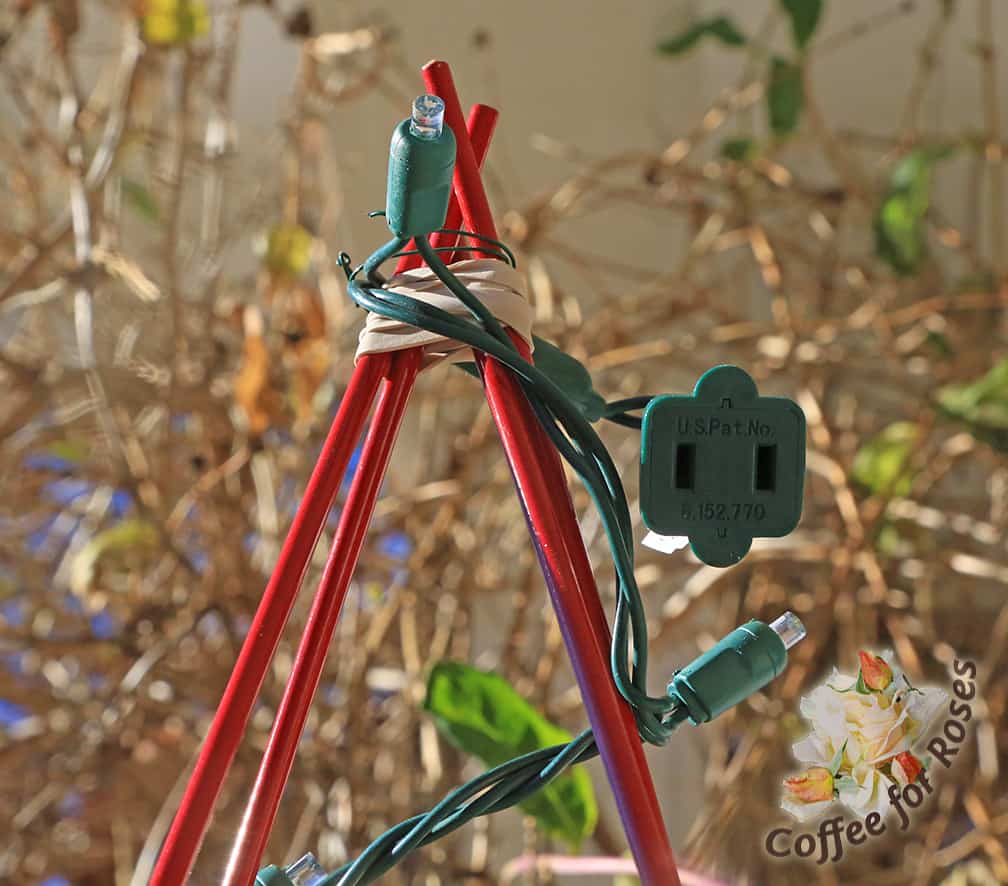
Tie the tops of the cage (the “feet” that normally get stuck into the ground) with wire. Be sure that you wind the lights so that the plug end is at the bottom, by the urn or pot. The other end that you see here will get stuck into the cane topper and hidden.
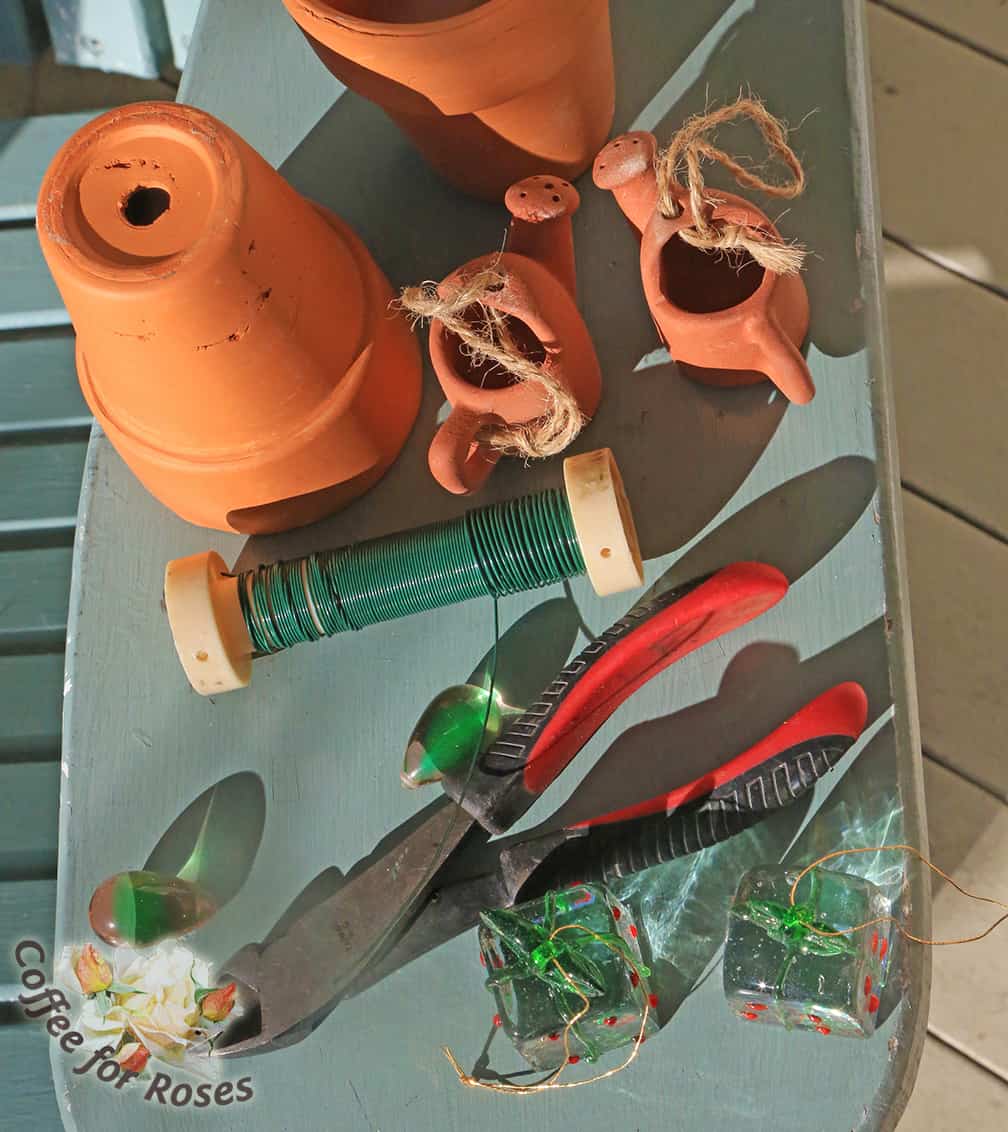
Cane toppers can be made of small flower pots turned upside down. You can fasten a tiny clay watering can to the top, a large glass bead, a round wooden ball, or….well, the possibilities for ornamentation are endless! Here I played with a glass gift ornament, some beads and the terra-cotta watering cans.
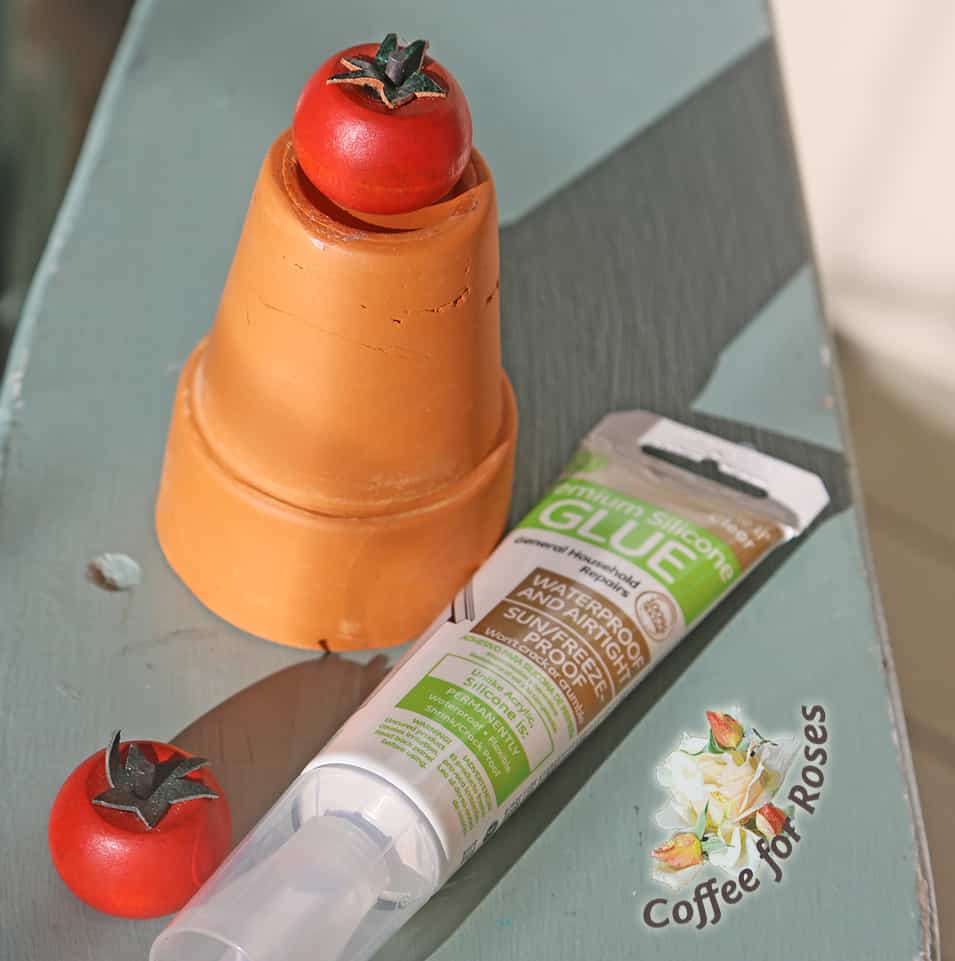
I settled on using some wooden apples that were in my craft-stash. I liked the red color since it repeated the color of the tomato cage. I glued these wooden apples on the top of the flower pots.
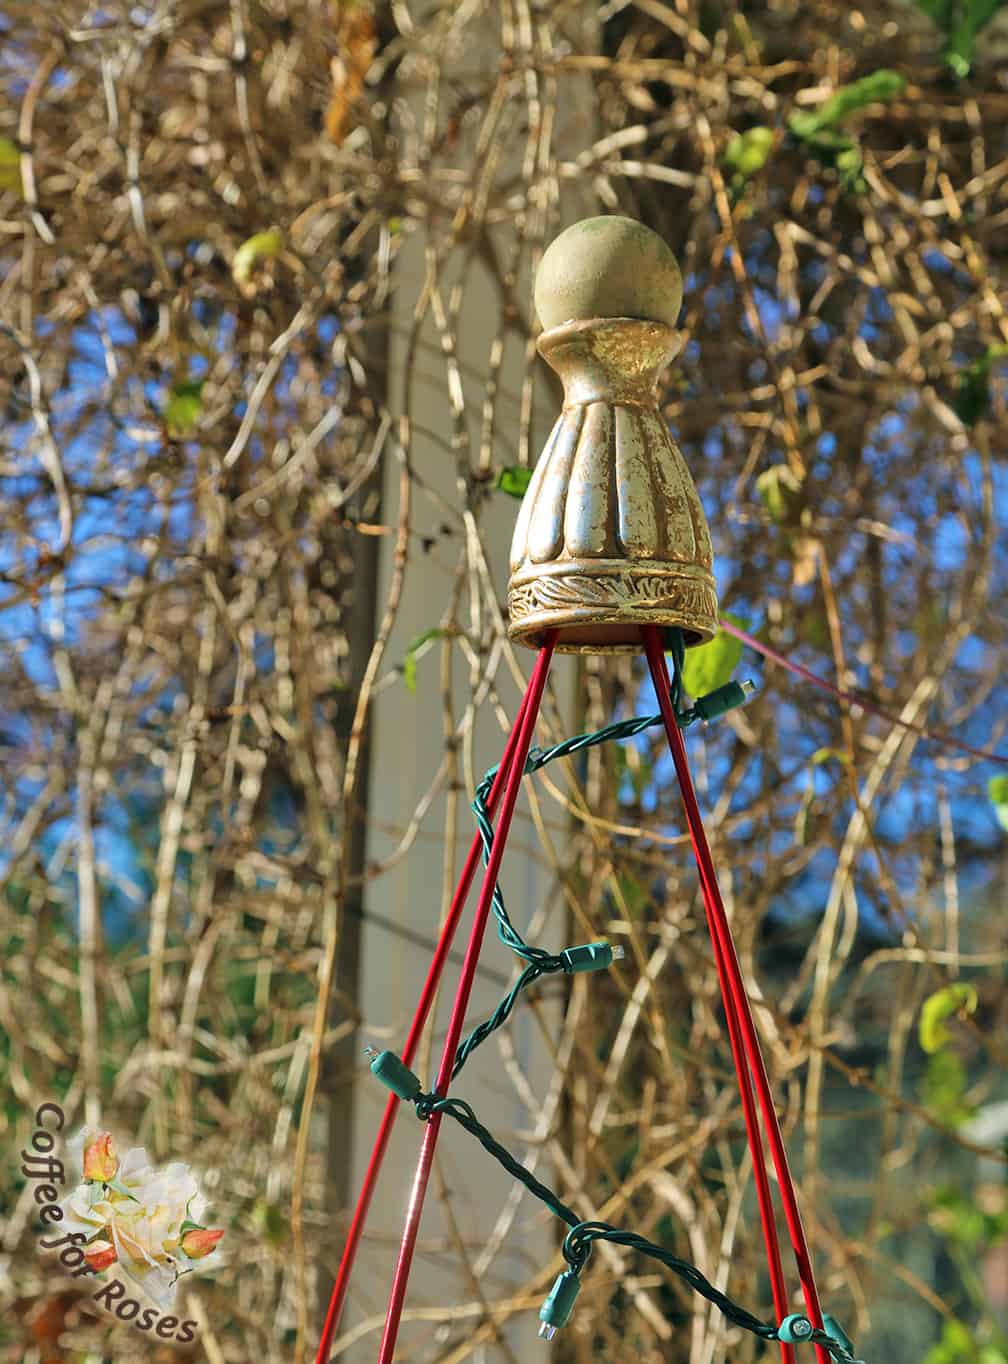
Here’s another idea that I tried before going with the apples, however. It’s a small vase that I found at a craft store, turned upside down with a round wooden ball glued on the top.
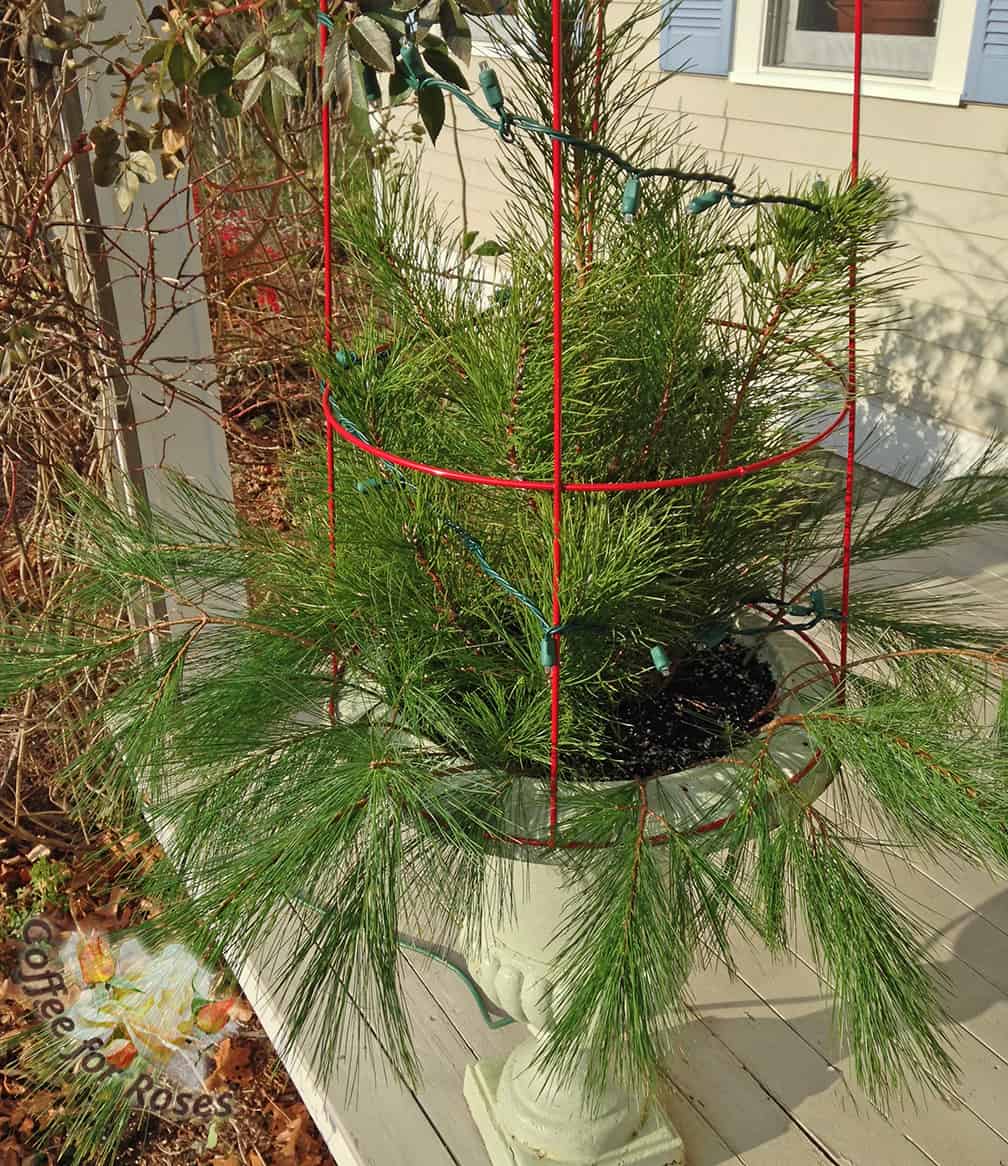
Once I had the topper in place I finished putting greens in the urn. I used an assortment of clippings from the plants on my property so that I got a variety of textures in the pot.
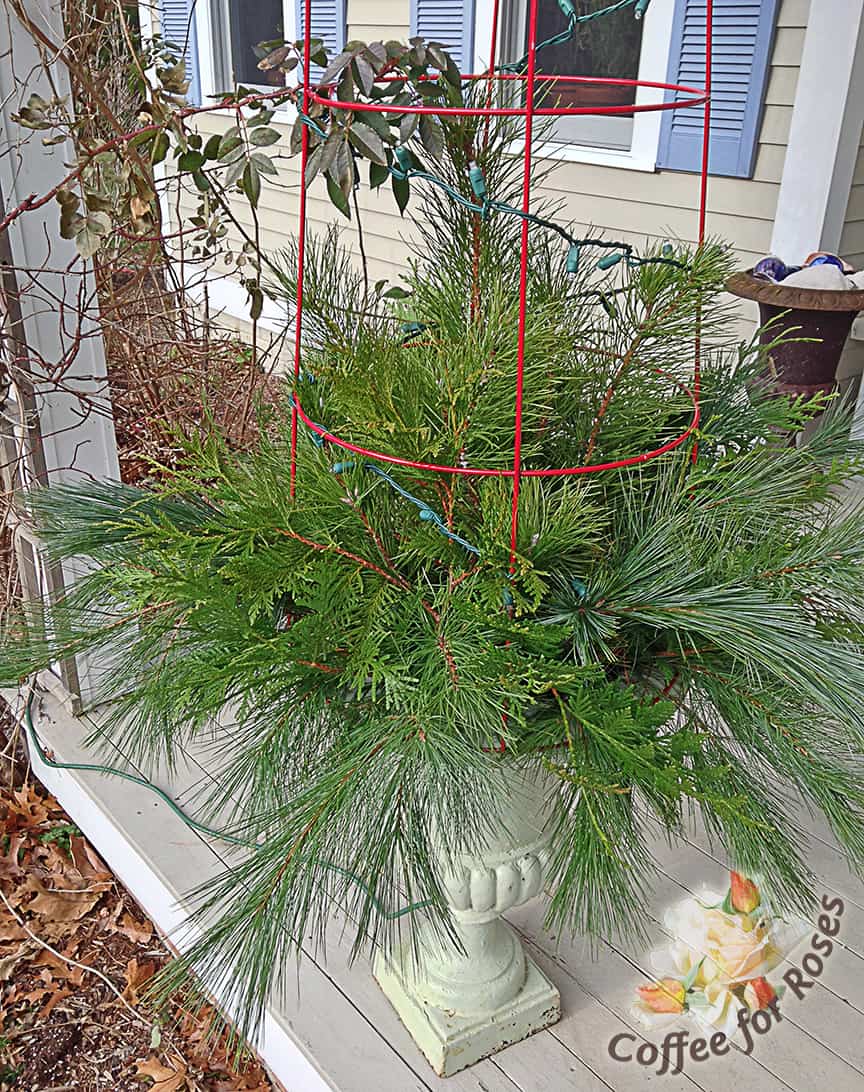
Here’s how the finished greens looked in the day time.

The tomato cages add drama and height, and are a great way to hold the lights. The flower pot toppers add a touch of whimsy.


