This Weekend Project post is about how to create a new planting area, or garden bed, without digging. Yes, turning the soil over and adding amendments such as compost or composted manure is a good way to start a new garden. That method not only works in the amendments but also loosens soil so that the roots of newly placed plants can grow into the ground quickly. But not all gardens need to be planted in this way. Some gardeners aren’t able to Rototill or dig with a shovel. Others are in a hurry and don’t want to take the time to buy amendments and turn them in before planting.
Here’s a picture tutorial on how to create a new garden from areas that are currently lawn, weeds or both. Note that if you have woody plants such as vines or shrubs growing where you want to make your garden you will have to remove those first. This method is most successful for places that are now lawn and small, annual weeds.
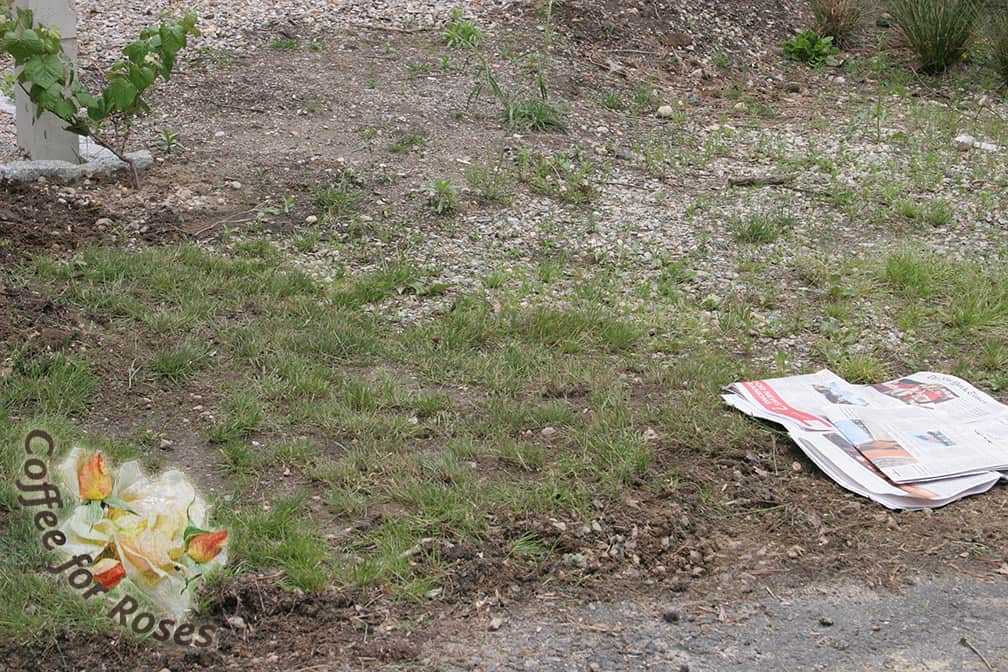
Here is a typical place where this newspaper and mulch works well. At the end of my driveway there was a small area of lawn that wasn’t thriving. The soil was very compact from various construction projects, and there was a good deal of stone dust just under the soil surface that had been kicked there from the construction of a nearby walkway. Not ideal planting conditions! Nevertheless, I began by laying out packets of newspaper to smother the plants there. After several layers of newspapers were placed, with edges overlapping, mulch was put on top.
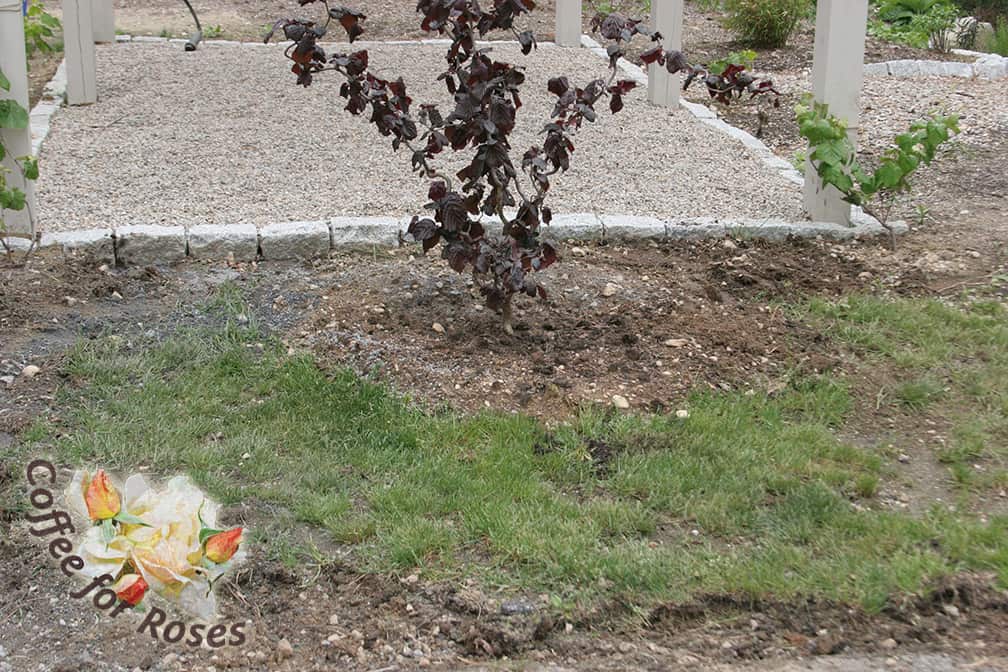
I decided to plant a Red Majestic contorted filbert in this area. (Corylus avellana Contorta ‘Red Majestic’) I was looking for something that would screen the area under the arbor all summer. I considered grasses, but ultimately decided to gamble on this plant that I was not completely familiar with.
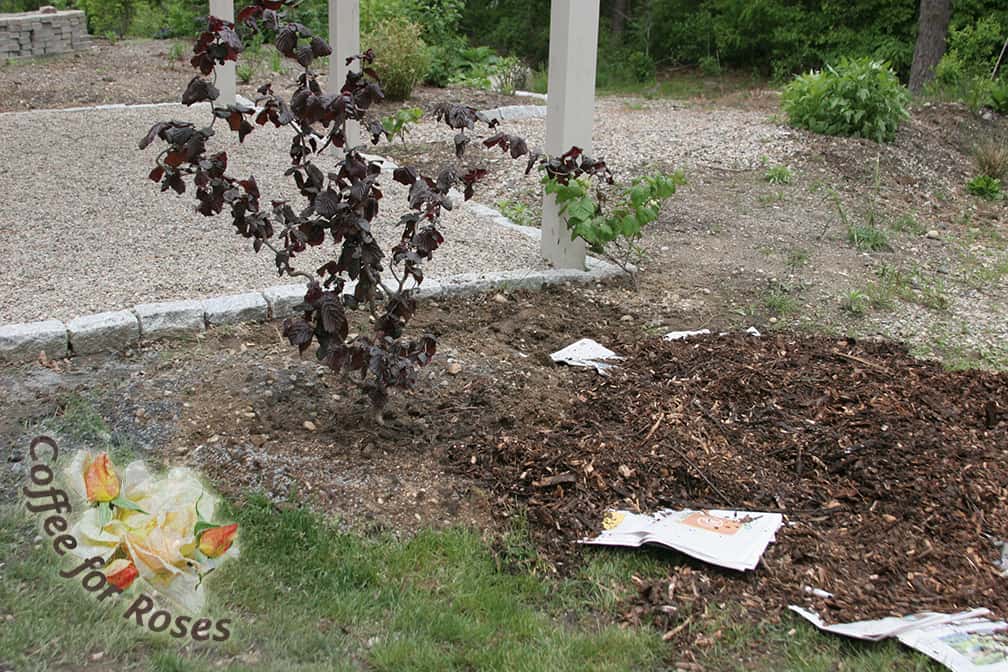
As I laid the paper down I covered it quickly with about three or four inches of pine bark mulch. This holds the paper down and in place. For the first season after you put these in place don’t plant in that area. The next year, however, you can pull the paper aside and plant directly in the soil beneath.
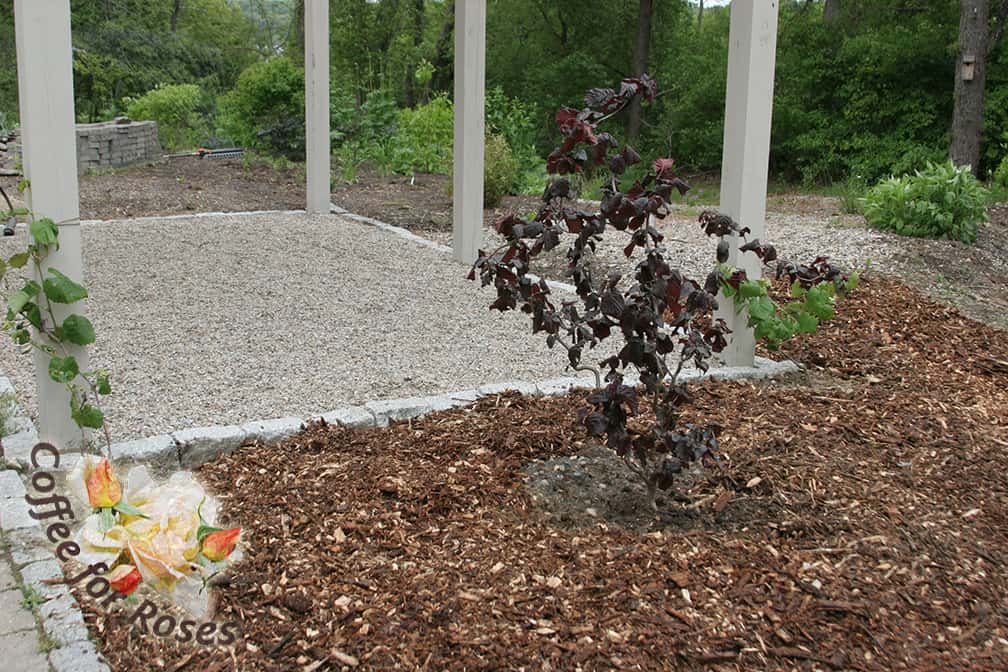
This is how the area looked after the mulching was finished. That fall I made a display of pumpkins and vintage watering cans on top of the mulch to distract from how bare it was.
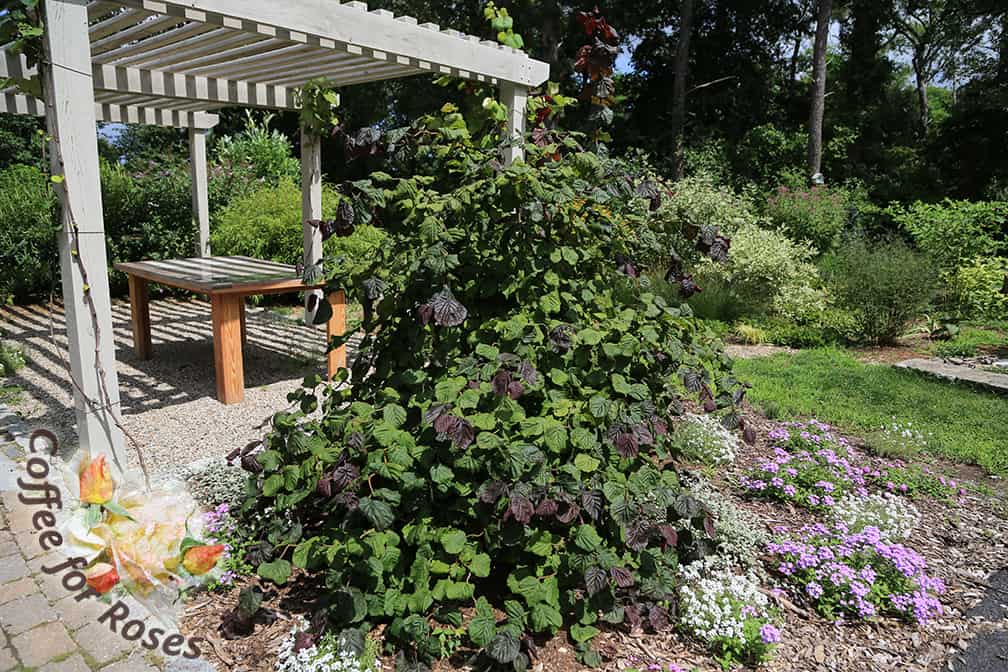
Here is how the filbert and the area looked three years later. As the Red Majestic has grown I’ve planted annuals around it since it will ultimately be filling the space. The newspaper has been rotting under the mulch, and when I moved the remains of the paper aside to plant the annuals I would mix some organic fertilizer in the space before planting. The filbert hasn’t been fertilized at all although it benefits from what was applied to the annuals.
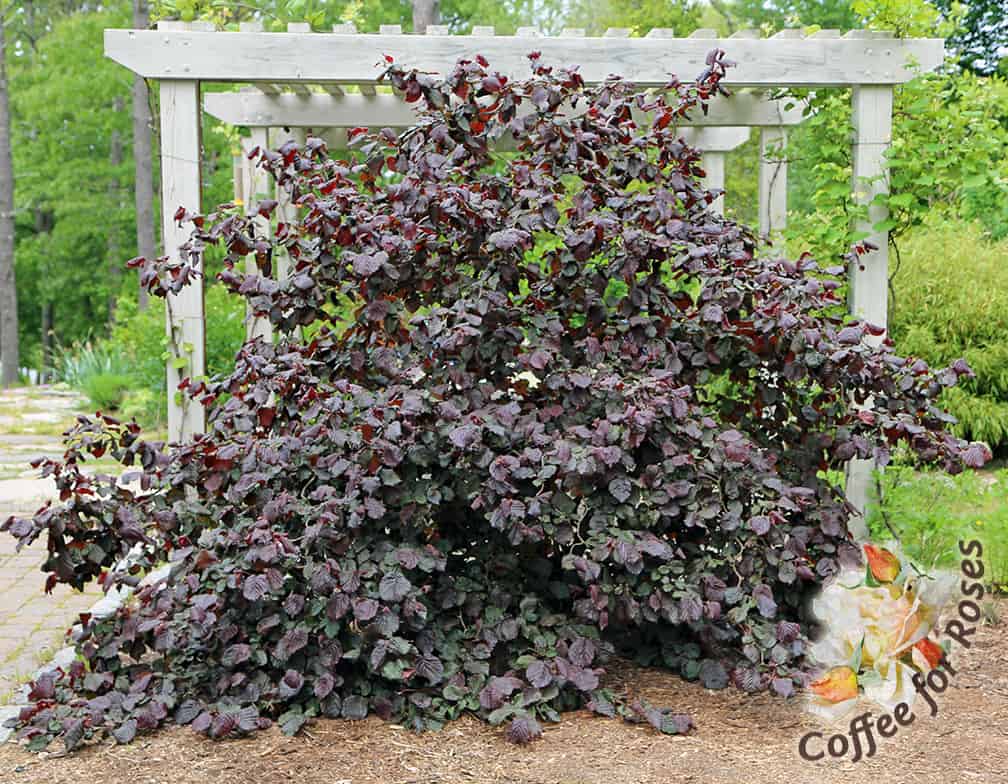
This year, six years after the newspaper went down, this is how the area looks. The filbert almost fills the bed. The newspaper is pretty well gone and two years ago another two inches of mulch was spread over the surface. This year I’ve poked some nasturtium seeds around the filbert to fill in the small bare areas.
Tips for success:
1. If you have really sandy or rocky soil you might want to put a layer of composted manure on top of the area before you put the paper in place. That would be the ideal, of course. I did not do that in the area shown, and you can see that it was successful anyway.
2. Don’t think that landscape fabric does the same thing: it does not. The advantage of the newspaper is that it rots over time and amends the soil with organic matter. This allows the mulch to rot and add organics to the soil as well, so over time the soil is being improved while the grass/weeds are being smothered. Landscape fabric does not allow for the on-going addition of organic matter to the soil.
3. Don’t think that 12 inches of mulch is better than 3 or 4 inches – too much can be too much!
4. Consider the type of soil you have when it comes to watering the places where you’ve placed newspaper and mulch. These materials will hold moisture in the ground for a longer period of time, so if you have clay soils you will want to check to see how moist the area is before watering. When in doubt, water regularly around newly placed plants but before irrigating the entire area test the soil by digging over 6 inches deep and check to see how moist the dirt is.


