
We harvested our garlic as usual in mid-July and hung it in the garden shed to dry for a couple of weeks. Last week it was time to take it down, cut off the stems and brush off the dirt. Yes, some of these heads we keep in the refrigerator for cooking, and some get stored in the cool room in our basement we call a “root cellar” but the method we use to preserve most of the garlic is to roast and freeze it. We love the flavor of roasted garlic, and having it already roasted and peeled, ready to use, is a blessing. Here is the way we save our garlic in the freezer.

Here are the garlic heads after they’ve been cleaned.
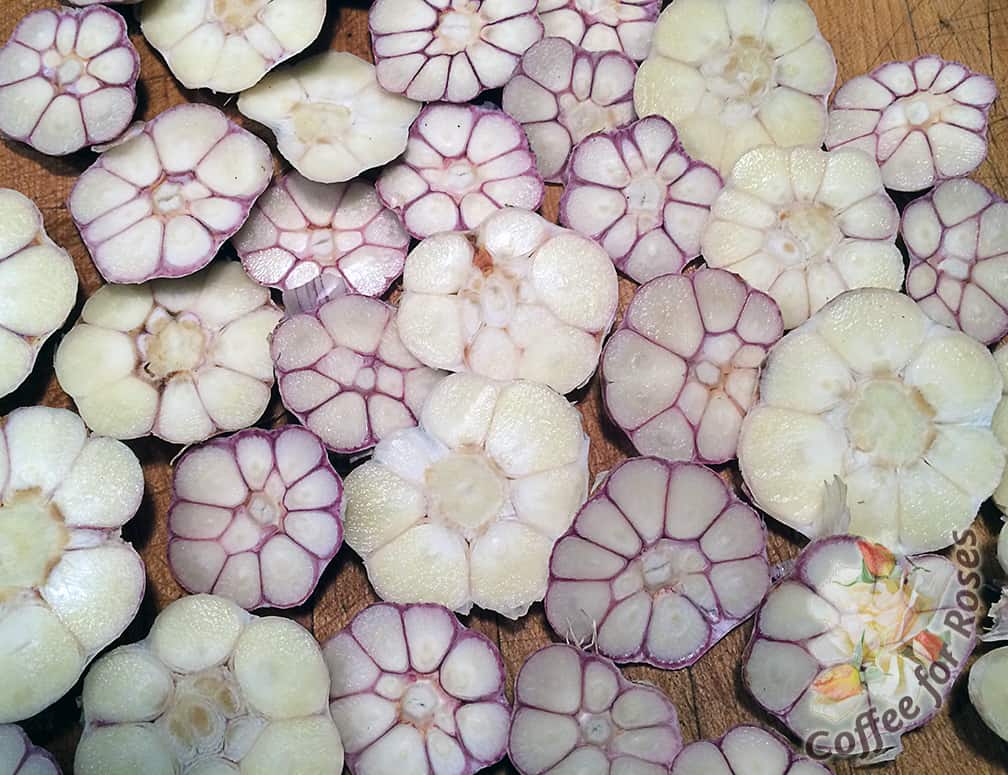
The first step is to cut the bottoms off. This removes the roots and makes it possible to quickly squeeze the roasted garlic cloves from the paper skins after they are fully roasted. These get tossed in the compost but they looked so pretty I had to take a photo.
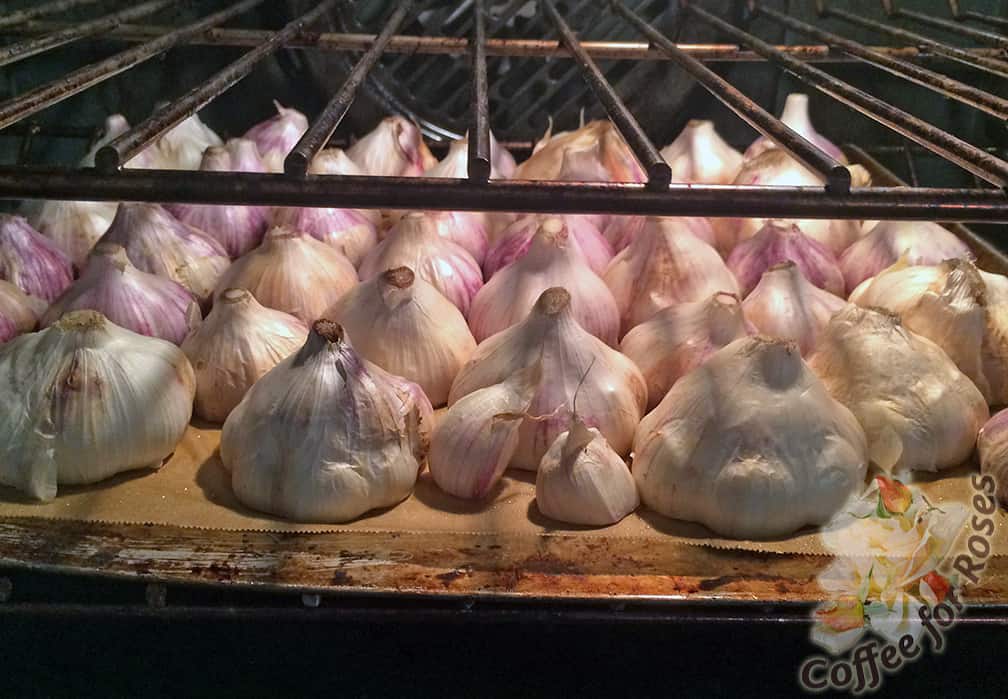
Put the garlic on a sheet of baking parchment that lines a cookie sheet and roast at 375 degrees. You don’t have to grease or oil the paper.

Bake the garlic until it’s soft when you squeeze it and it’s just starting to turn brown or carmel-colored on many of the cloves.
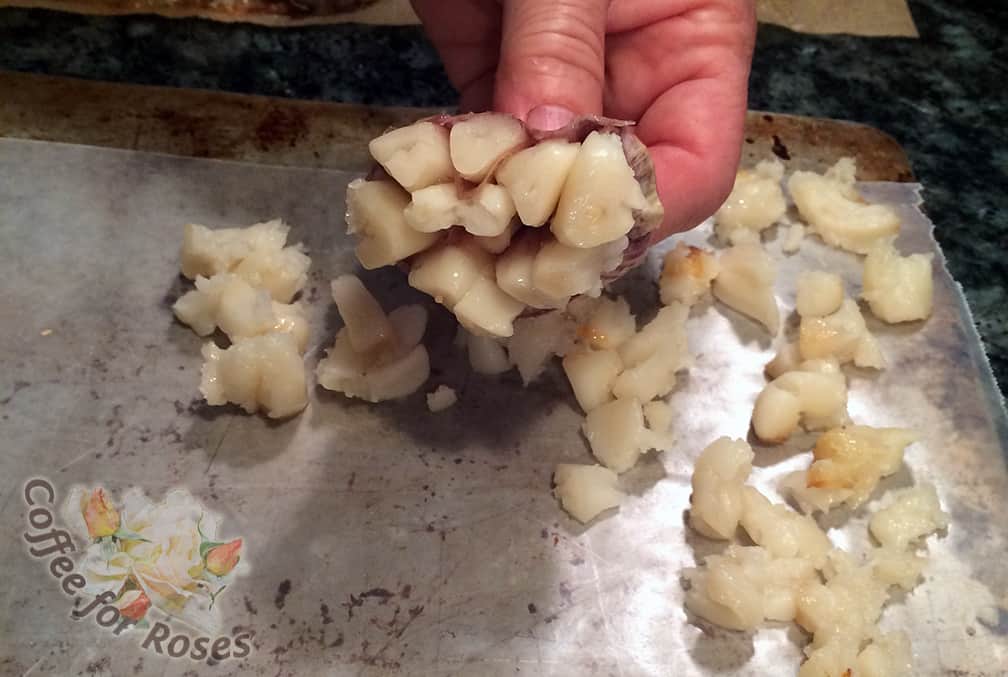
Once the garlic is done remove it from the oven and let it cool enough so you can comfortably handle it. Pick the heads up one by one and squeeze the cloves out of the paper onto a waxed paper covered cookie sheet. The cloves come out easily – they are pretty sticky, however, so be prepared for that. Once the garlic has been squeezed in a single layer you will put this cookie sheet into the freezer.

Once frozen, remove the garlic from the waxed paper and store it in zip-lock freezer bags or cartons. If many cloves stick together when frozen, use the back of a serving spoon to whack them and they will break apart. This way you can grab one or more cloves when you’re cooking and leave the rest in the freezer.


