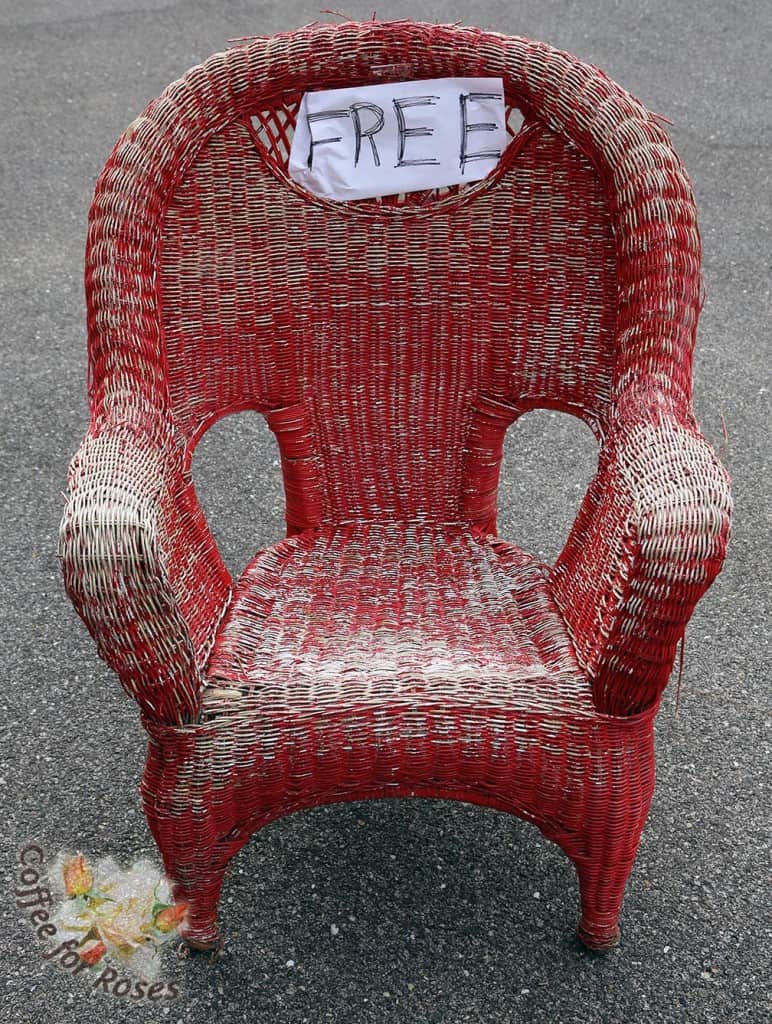
This side-of-the-road find is irresistible to someone who looks at every object as a possible planter…
Yes, I was driving home yesterday after doing a garden consultation for the garden center and saw this on the side of the road. Since I was on company time, I didn’t stop, but thought to myself “If that’s still there tomorrow morning when I drive this way, I’ll stop by and pick it up.” Sometimes you just have to trust that if it’s meant to be, then it’s meant to be, right? In this case, it was bashert because the chair was still there this morning.
Let me be clear that this piece of wicker furniture is no longer useful as a piece of furniture. I imagine that this is why it was still on the side of the road the next day…the wicker is crumbling and anyone over 60 lbs who sits here is likely to end up on the floor. I wasn’t looking for a porch chair, however…I was interested in this piece as a sculpture.
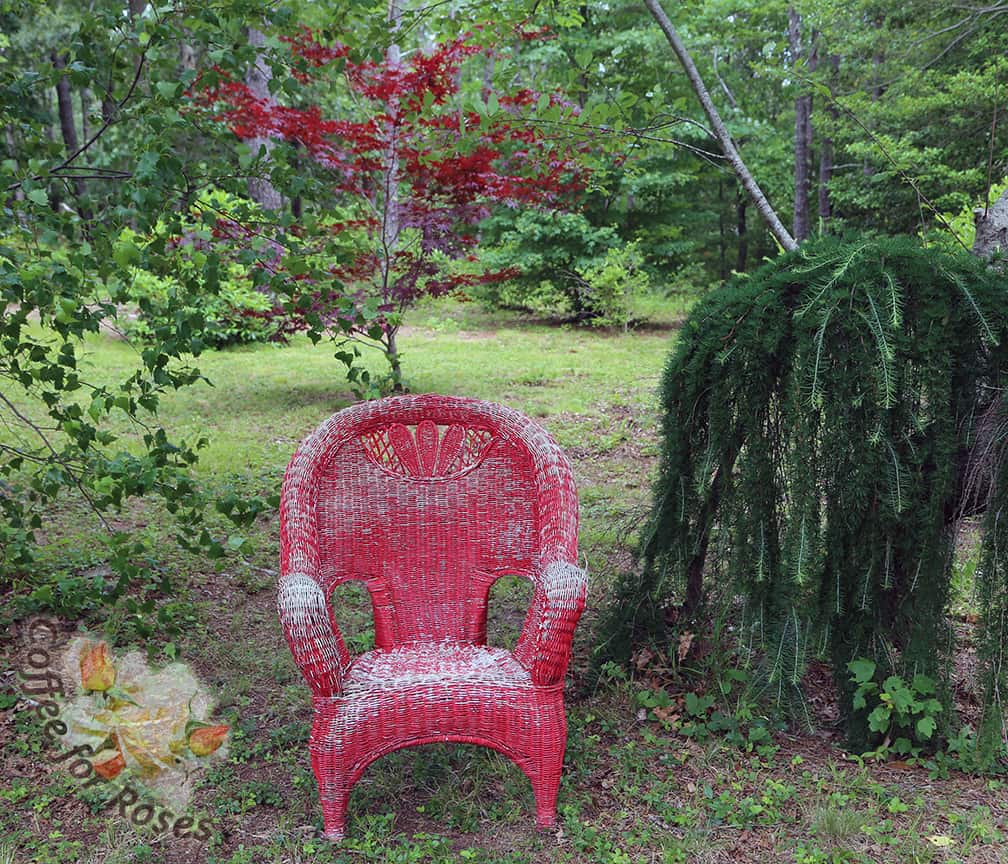
I decided to place this chair on the path going down to the lake. I have a very funky weeping larch that is planted against an equally quirky choke cherry tree. On the left is a clump of birch and behind these two grows a small red-leaf maple. It was the perfect location for a piece of garden art.
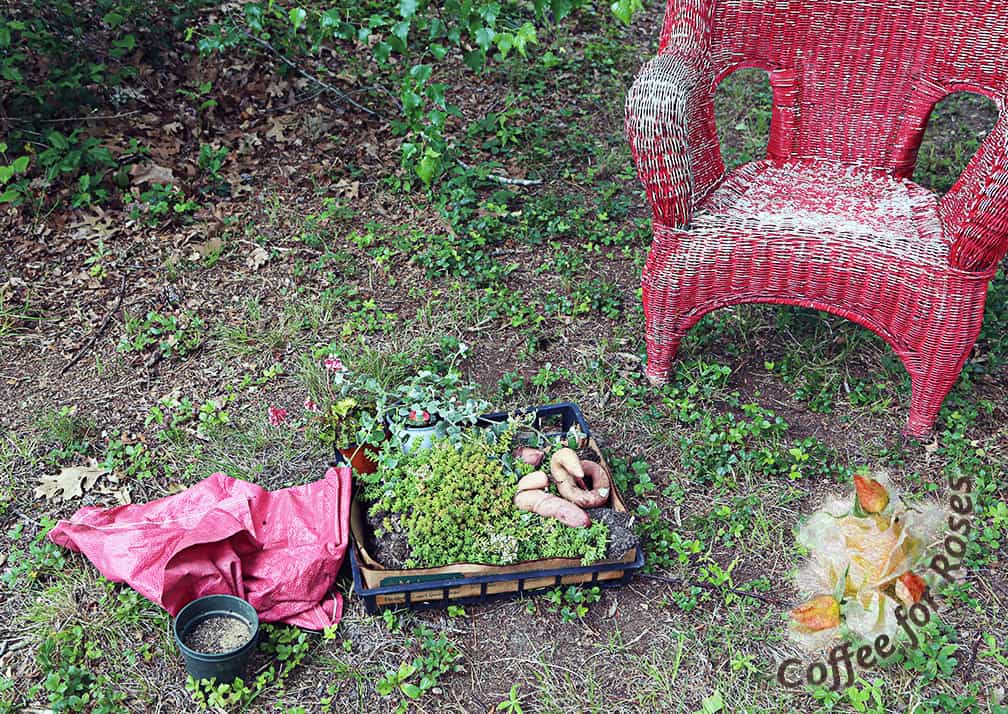
I gathered the ingredients I wanted to use on this chair. Here’s a list of what I used:
- A piece of fabric or other lining that was permeable. I used an old, woven bag that happened to be pink. You could use a piece of landscape fabric or burlap, or even a large, old dish towel.
- A clump of low sedum. I used Sedum album since it spreads quickly and I always have clumps to dig out of my front garden. I scooped up a large piece with about three inches of dirt underneath.
- A licorice vine (Helichrysum petiolare) because it grows well even in part shade and will sprawl out and around the chair, over the sedum but not in such a solid way that it will shade the sedum out.
- A begonia. This one is a wildcard. I’m not sure how well it will thrive in such a shallow amount of soil, but sometimes plants surprise us, don’t they? What’s the worst that could happen? The other plants will thrive and the begonia won’t.
- Organic fertilizer and compost.
- The sweet potato vine tubers I just found in a box in my garage. I dug them out of the ground last year to save them for this summer’s garden, and didn’t find them again until the end of June. Hey, sometimes things get by us. It was fortuitous, however, because the lime color of these vines will be perfect growing on the ground around the red chair.
- A stapler.
- Some tall grass recently cut down in our field to hide the edges of the fabric. You could use moss or other natural materials as well. I also grabbed some chopped leaves from our compost pile to use as a top dressing.
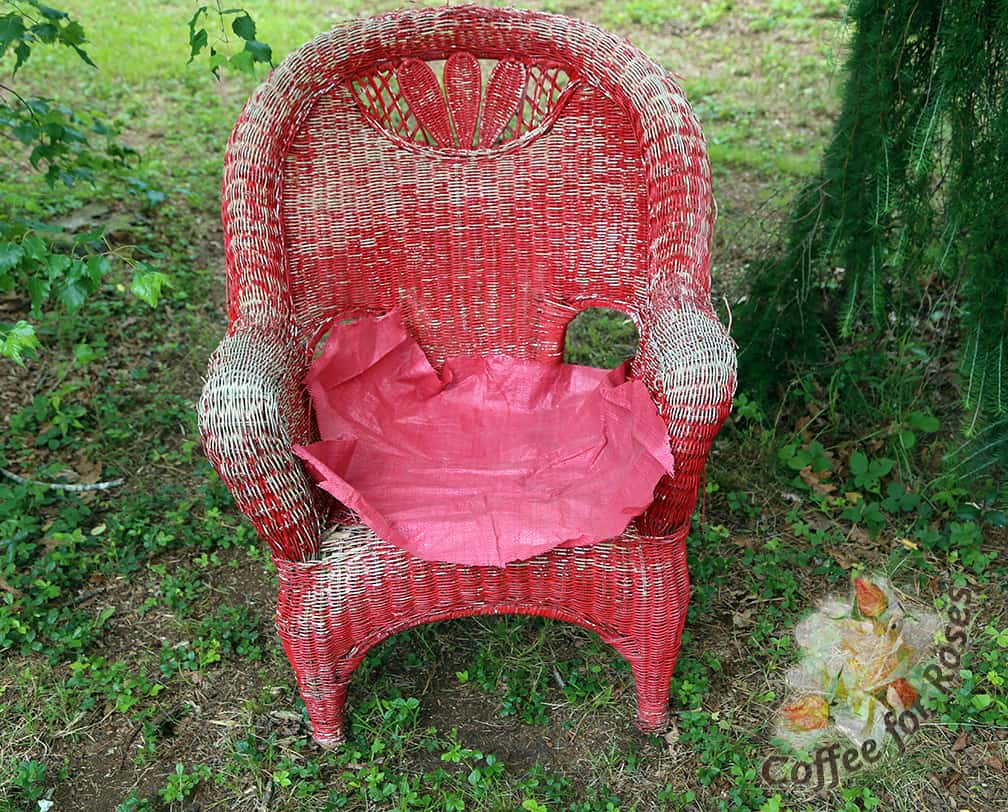
First I cut the fabric bag into a circle that was at least six inches larger in circumference than I wanted the planted area to be. The excess fabric is necessary to hold the soil all together in a shallow bowl.
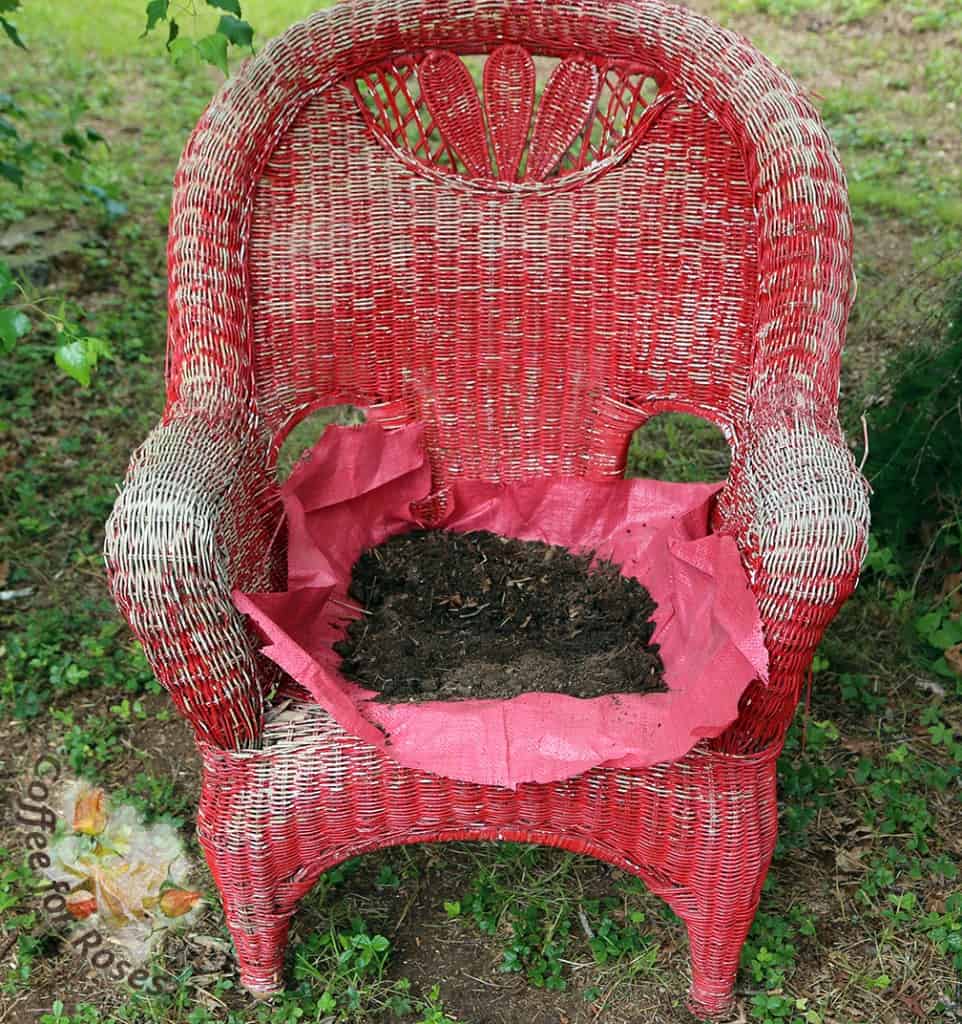
Next I put a couple of shovels full of compost onto the fabric. Onto this I sprinkled some organic fertilizer.
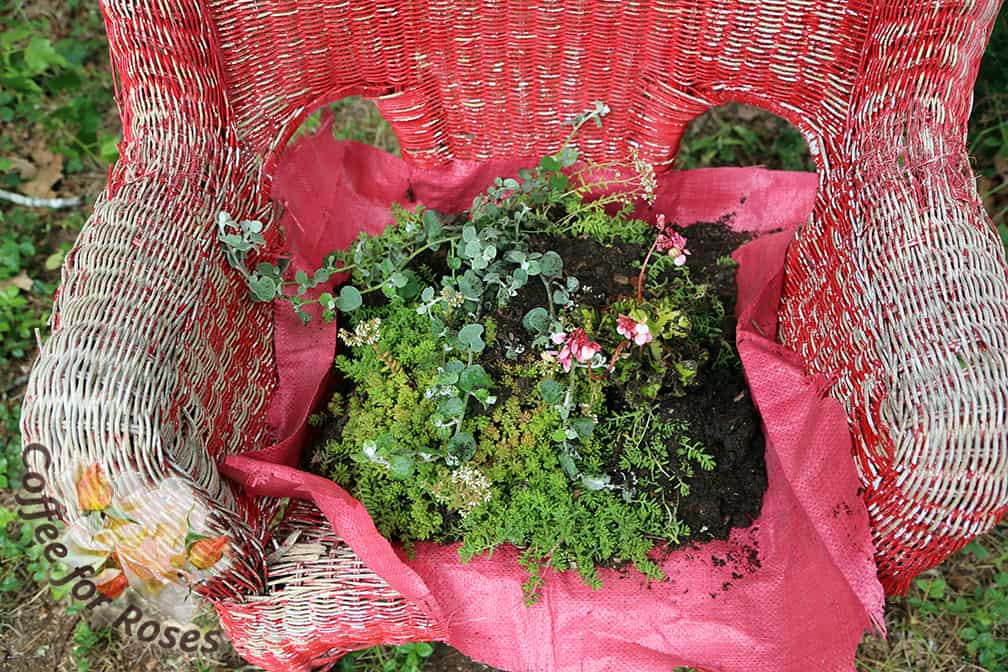
The plants were put in place. I made sure that clumps of the Sedum were placed on the sides of the licorice vine and the begonia. The sedum should spread over the summer and fill in any and all blank areas.

Now it’s time to roll the rim and tuck it into itself in order to hold in the dirt and plants. Grab a piece of the fabric and roll it until it’s snug against the dirt. Hold it to the side and press it against the fabric there – staple these together three or four times. I did this in four places, on each corner of the chair. After the rim was created I tucked some more soil and compost into any spaces, along with a bit more of the fertilizer.
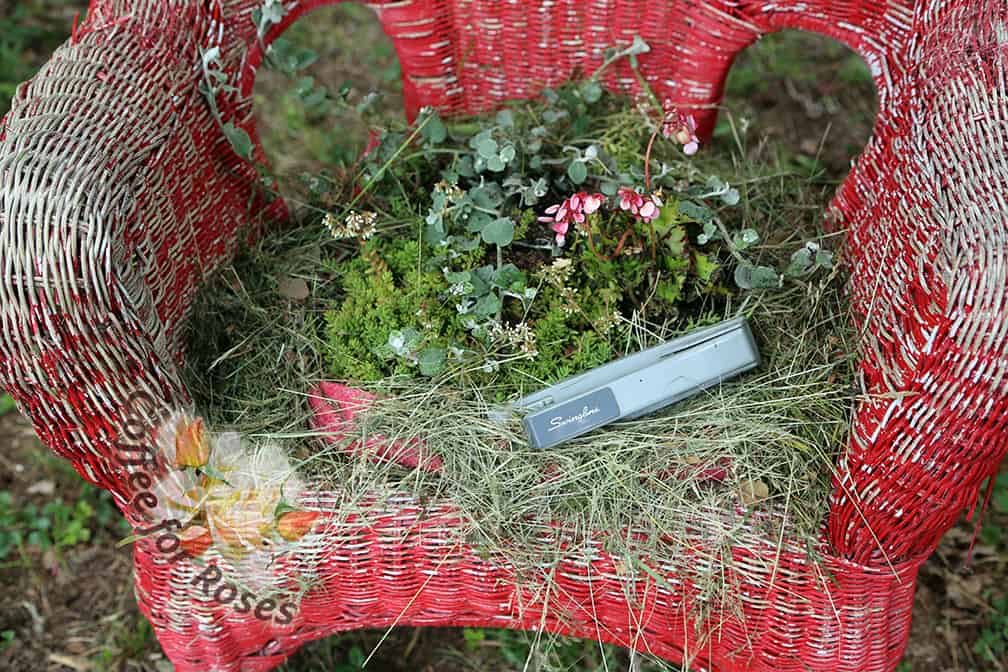
Hide the fabric on all sides with your hay, straw, or moss. In order to make the dried grass stick on the front of the chair I stapled it in place. The staples don’t show. As the plants grow they will drape over this dried grass and further hide it and hold it in place. If necessary I can also add to this layer as the summer goes by should some of the dried covering blow away. You could also tuck strands of ivy into the dirt and use that to hold on the covering.
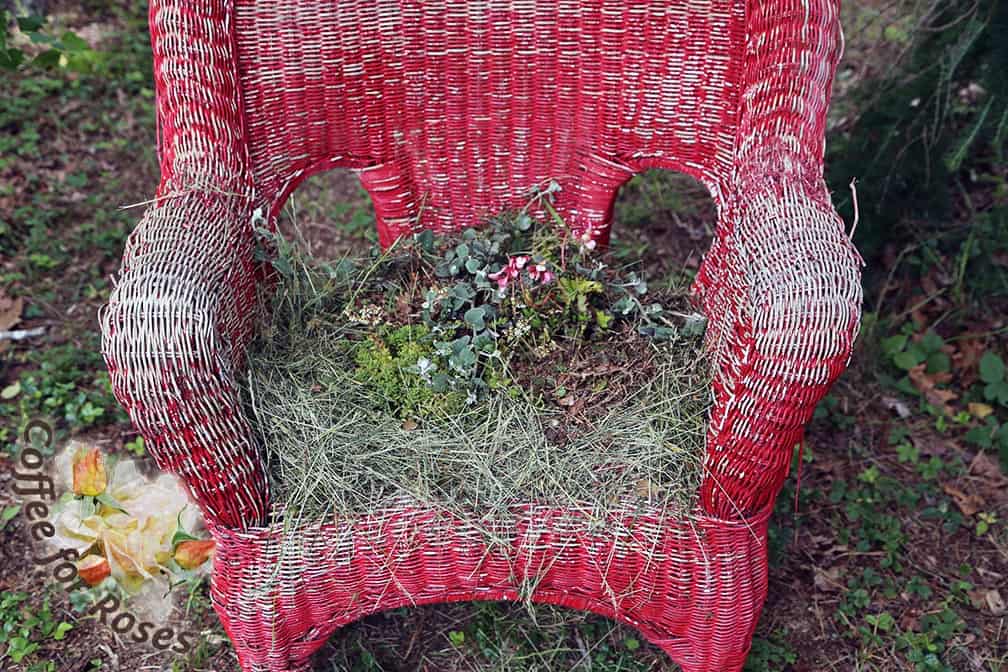
I covered any bare soil areas with the chopped leaves as a mulch that will help keep the soil moist.
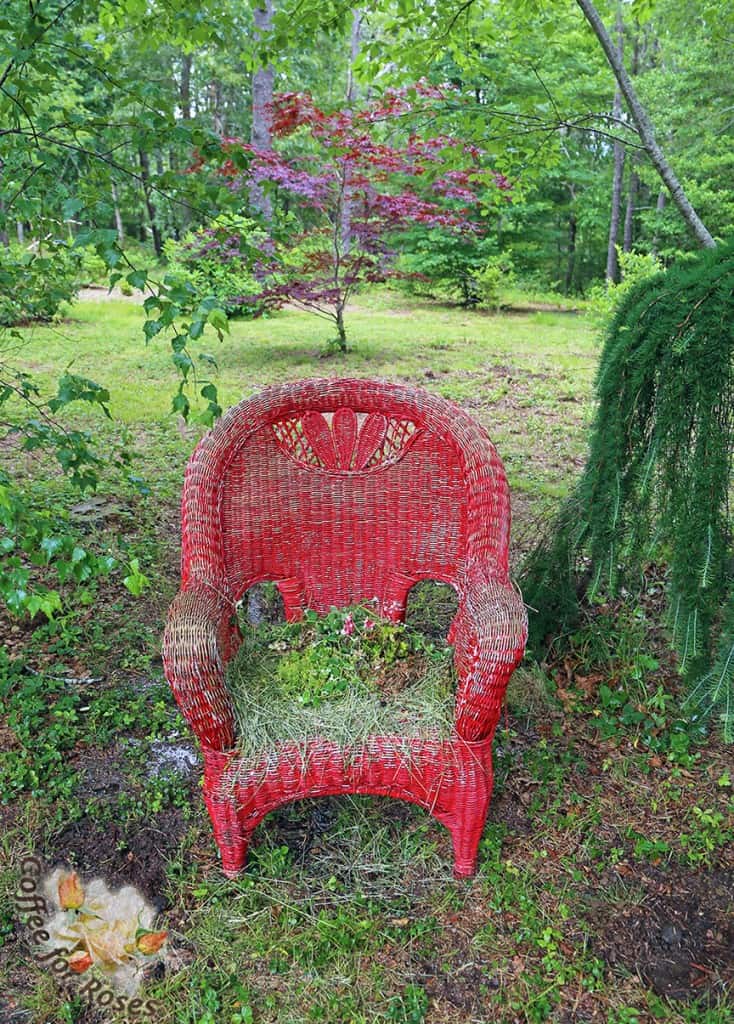
I planted the sweet potato tubers on either side and in back, then watered the chair plantings and tubers well.
Later in the summer I’ll post photos of how it looks as things grow. Now I’ll just have to hope none of those deadbeat wild turkeys that pass through try to sit here.
So the next time you see something on the side of the road with a sign that says “FREE,” put on the brakes and decide if it has potential as a garden sculpture/planter.
