
The weekend project: celebrate spring and create your own nest to use as a centerpiece, art object, or gift. Here’s how mine looked when finished. I placed it on top of a small milk-glass vase and added three hard boiled eggs to use as a centerpiece. You could use wooden eggs from a craft store if you wanted to leave them in the nest for many days.
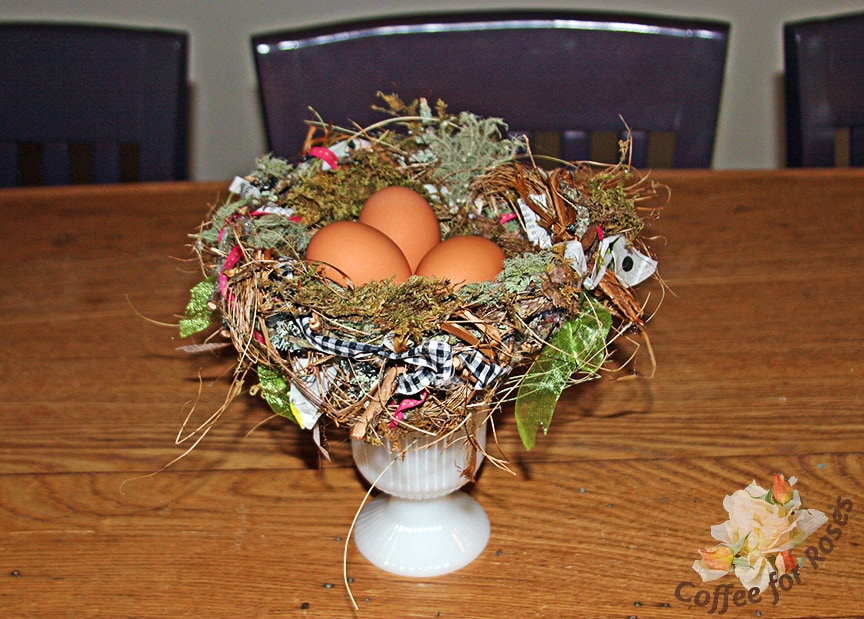
The nest can be placed directly on the table as well, or consider displaying a small nest on top of a candle holder.
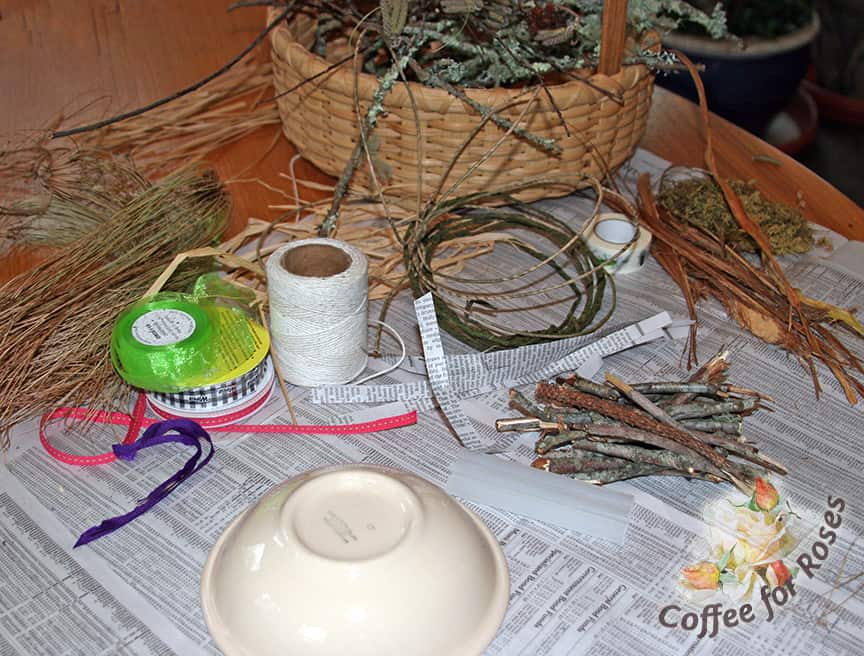
You need a small bowl, assorted twigs, a glue gun, moss or lichen, and assorted dried grasses, bark, ribbons, papers, pine needles or other nesting materials that strike your fancy.
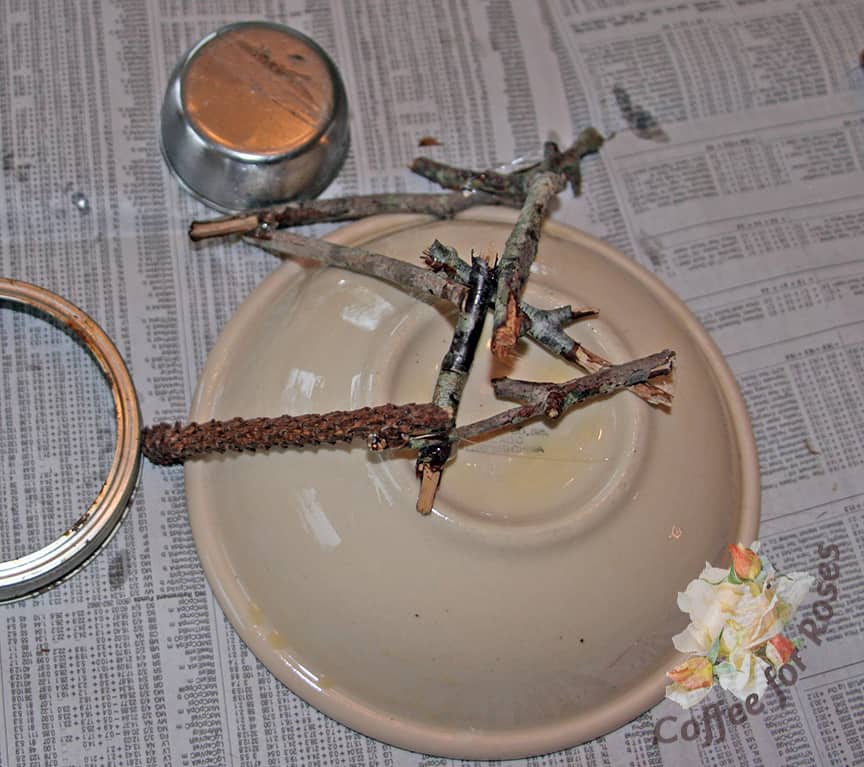
Oil the bottom of a small bowl so that the hot glue won’t stick to it. Choose a bowl that is slightly smaller than the size you want your nest to be. Start by placing some sticks on top, gluing them where they touch with hot glue. Next start gluing twigs that go down to the edge. I found it helpful to prop these twigs up with random kitchen stuff from the junk drawer while the glue hardened.
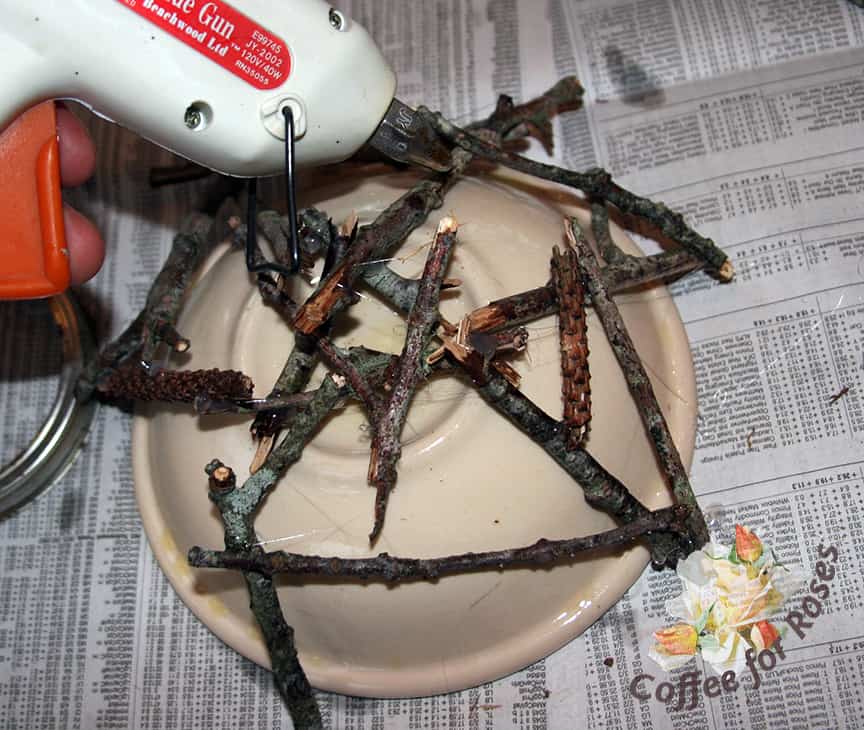
Continue to randomly position sticks and glue into place with small dabs of hot glue. Once the bowl is removed these twigs will provide the framework for the rest of the materials.
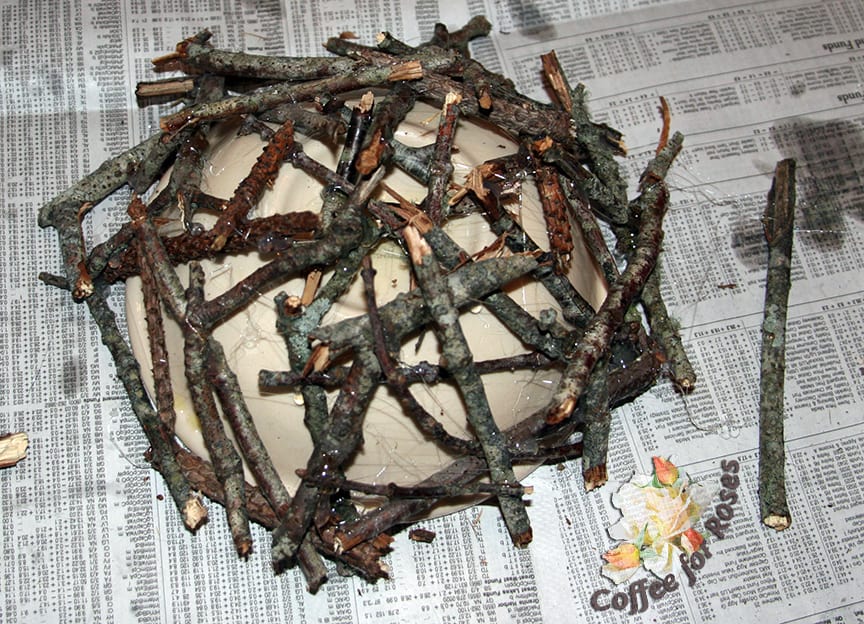
Here is how the first framework looked. Be sure not to make the frame too thick or you won’t be able to work other things into the spaces between twigs. Don’t worry about the look of the hot glue at this point – most of it gets covered up later.
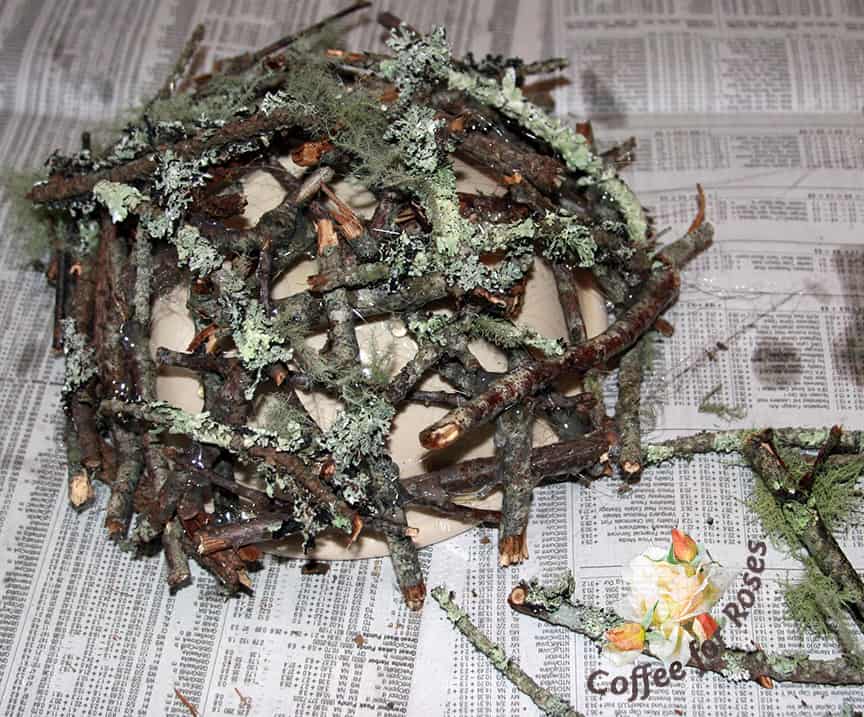
I had several twigs that were covered with lichen, so I added a layer of these next. (Note – Lichen doesn’t hurt trees. See my new book, Coffee for Roses 😉
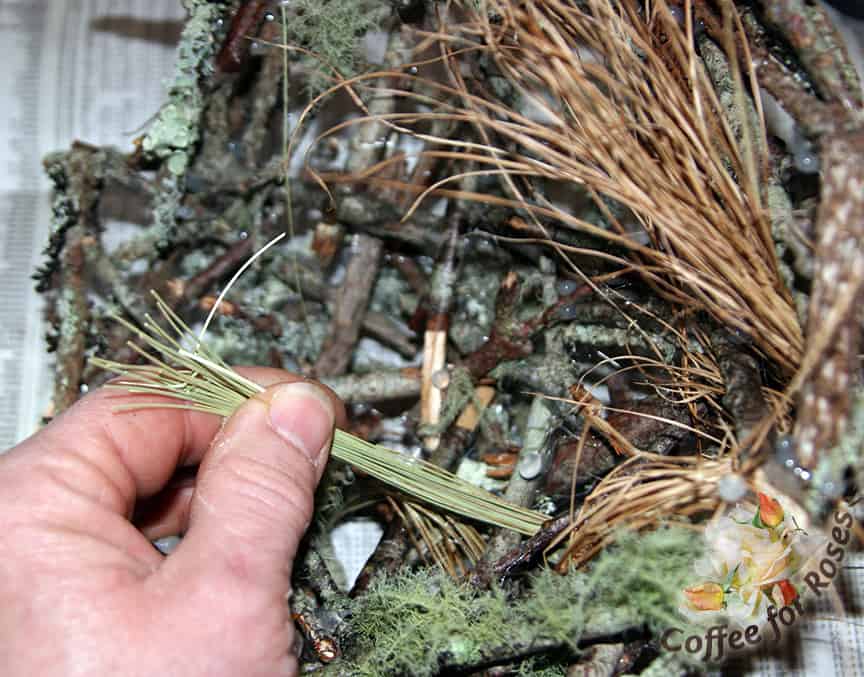
Once the framework is done start working in the other materials, weaving it in and out of the stick framework randomly. I cut some dried tops from my King Tut Papyrus and wove groups of that in and out to begin with.

Here is how the next looked once the dried papyrus was woven in. I didn’t glue this, but you could if the materials you choose don’t stay on their own.
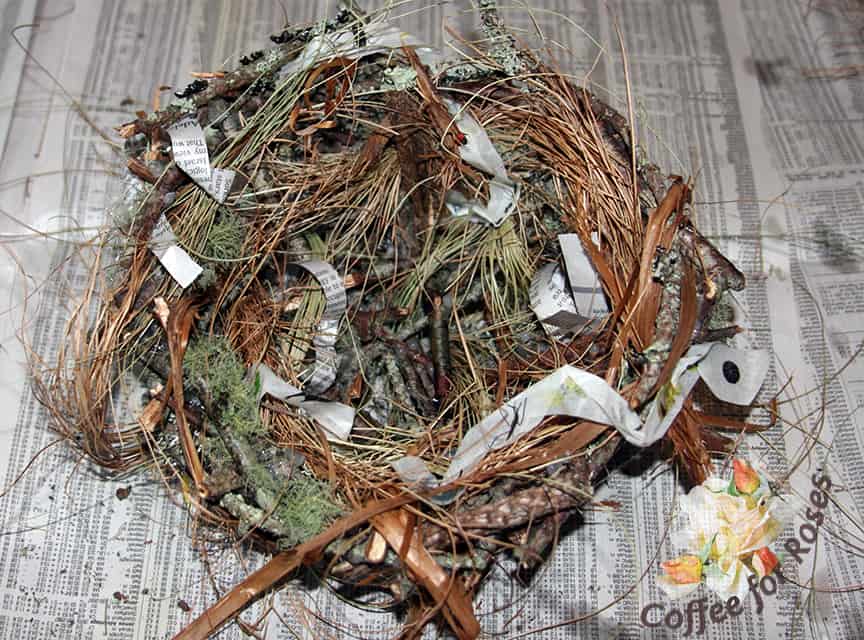
Next I started weaving in strips of newspaper and some printed tape from Japan. The tape has small bug illustrations on it. I held the strips of paper and tape in place with dabs of glue.
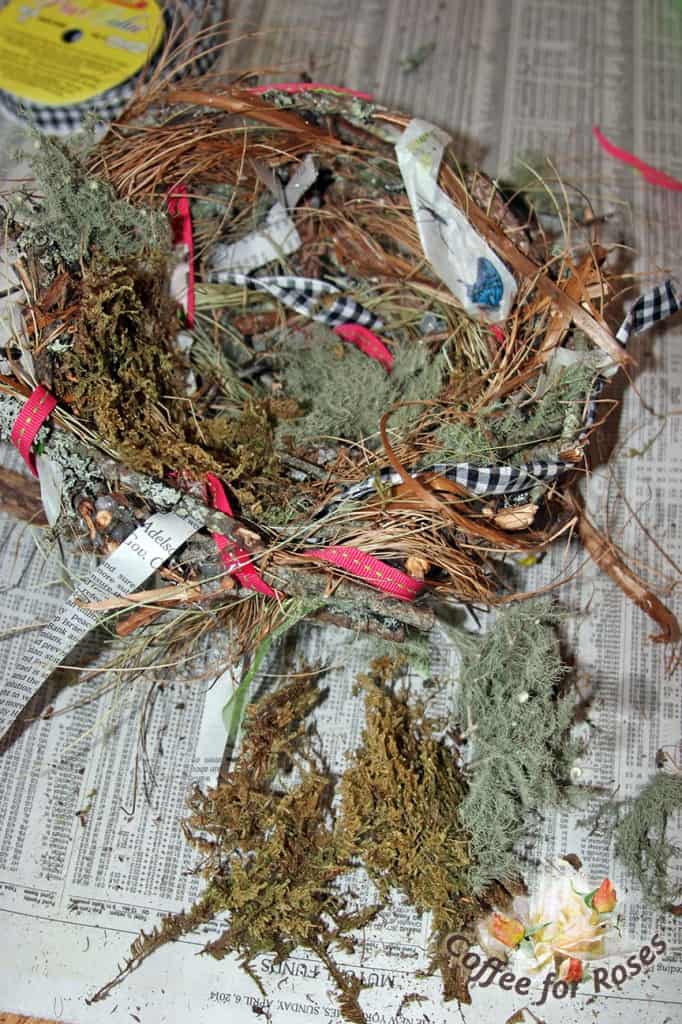
Next I added ribbons, again gluing them in place. Once I had as many of these as I wanted, I finished off with scraps of dried moss and pieces of lichen. The moss and lichen softens the rest of the materials and hides any large dabs of hot glue. I glued the moss and lichen pieces into place.

Here is how my finished nest looked. I ended up using just three pieces of the bright green, sheer ribbon on the outside of the nest because I felt that it made the outside more special. This nest would make a nice holder for a little gift. It would also be a great holder for some special rocks or sea shells.
As I started looking around my house and yard I found lots of potential nesting materials. I look forward to doing another one with different materials soon! Have you made a nest? Tell me about the process and materials you used!


