
Many of use pick up small treasures when we travel. Shells or worn glass from the beach, round rocks from streams or roadways, interesting construction debris and other discarded small bits that catch our eyes when walking. Once you have pockets filled with such bits and pieces, however, what do you do with them? I suggest that you put these on a mosaic flower pot.
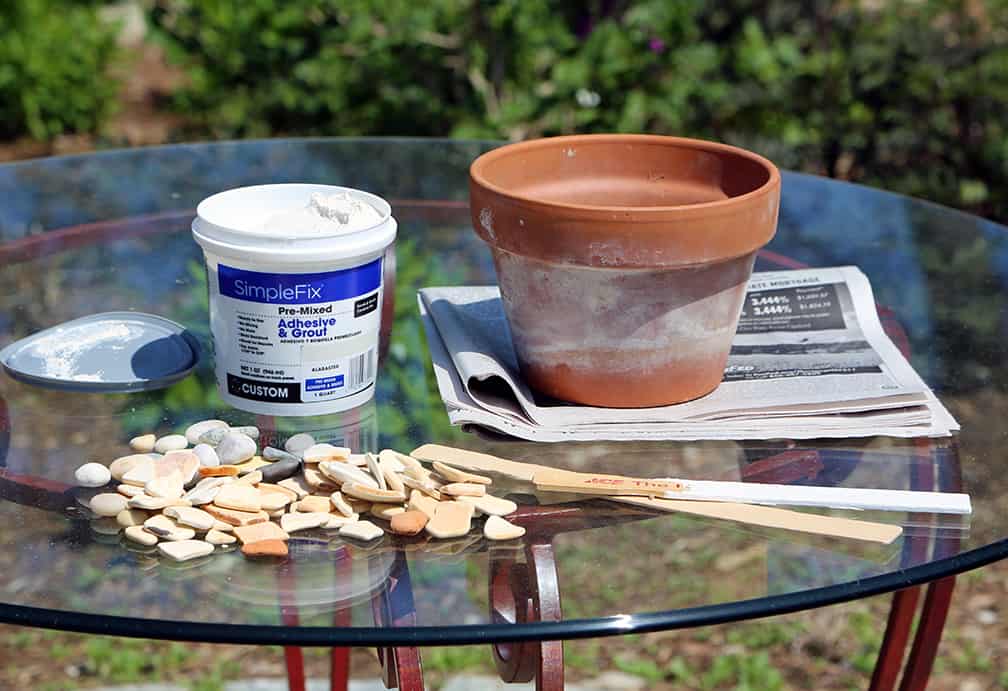
Here are the ingredients you need for a keepsake flower pot. A tub of adhesive-grout mix, your collection of pebbles, shards, or other objects, a pot (new or used) and a flat-sided stick for spreading the adhesive onto the pot. I used an old paint-stirrer.
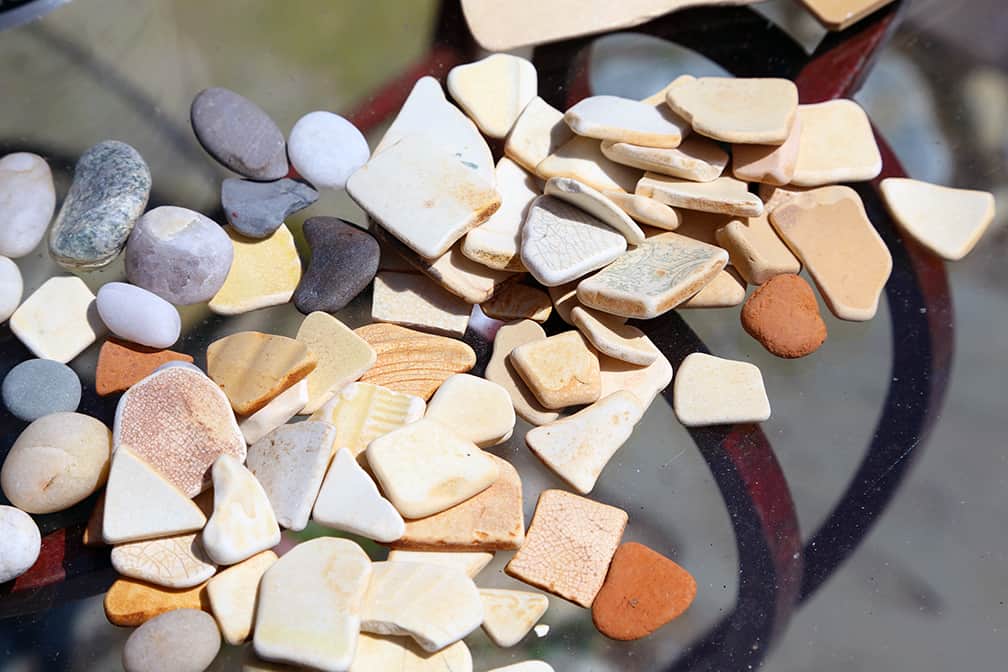
For the rim of this pot I choose worn pottery shards I picked up some years ago on a beach in Gloucester, Massachusetts. There were some random pebbles in this collection too, so I decided to add them in. I chose to use a used terracotta pot since the white salts on the outside blended with the white of the grout/adhesive mix. You can also tint this mix with small amounts of acrylic paints.
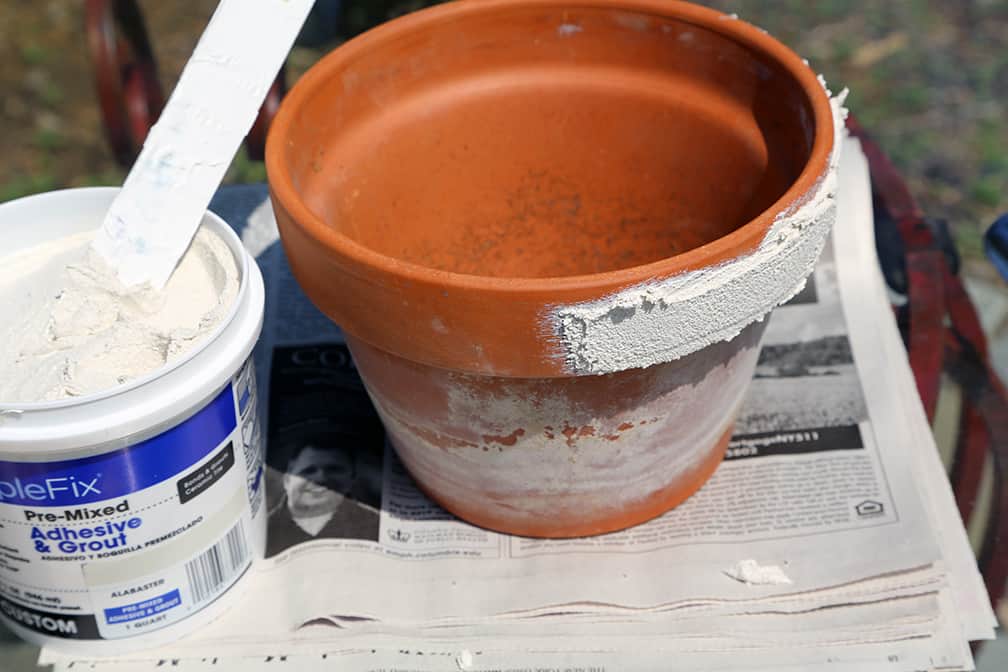
Spread your grout/adhesive mix on the pot in a small section at a time so that it doesn’t dry out before you press the pieces into it. I use a layer that’s about a quarter of an inch thick.
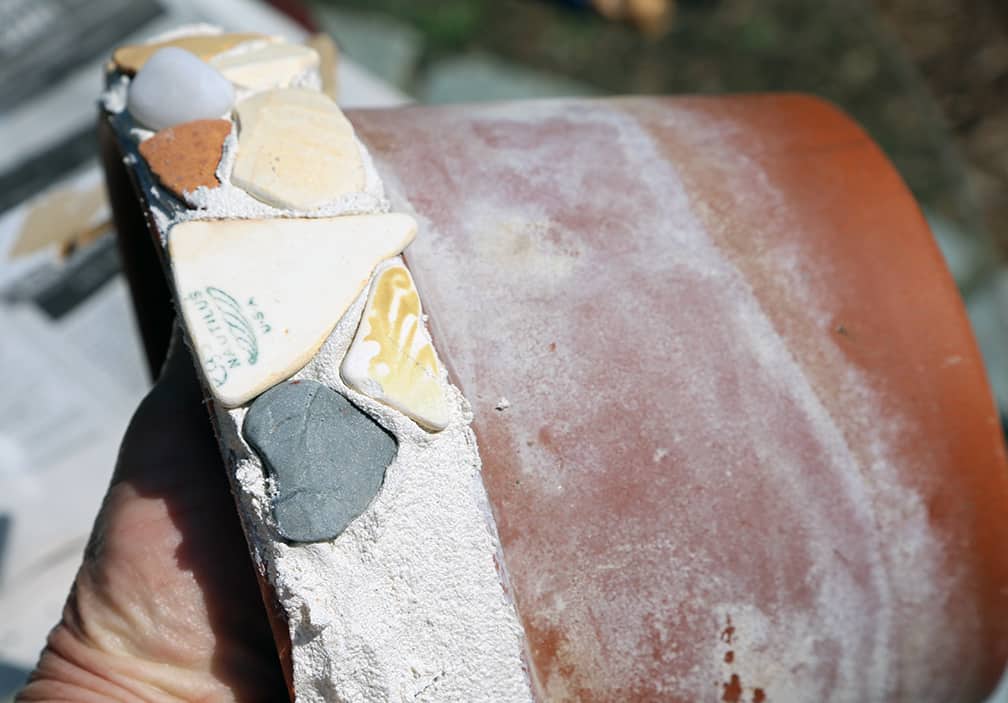
Hold the pot in one hand and choose your shards, pebbles and other objects, putting them in place so that they fit closely but allow some grout to push up between them. It helps to have a mixed selection of sizes before you start, so that you can pick up a small or large piece as needed. Vary the pieces as you go, placing a dark next to a light one, or a pattern next to a plain one, or mixing up the colors in a way you find pleasing. Once you’ve filled the area you have covered, add more adhesive/grout to the pot.
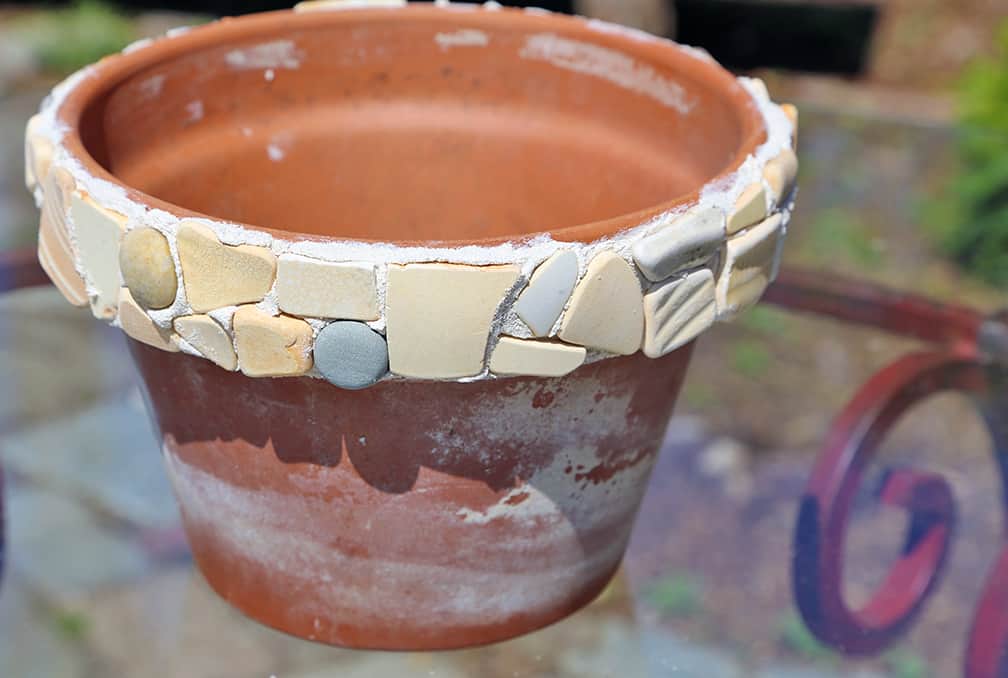
For this pot I chose to only cover the rim. In the next photo you can see a pot that was filled from top to bottom.
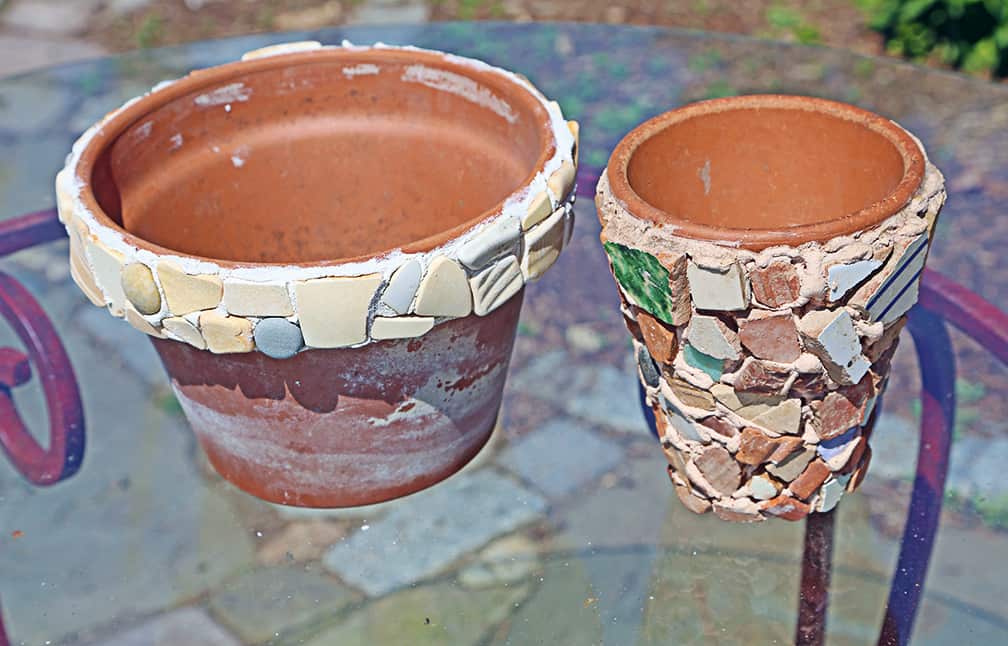
The pot on the right was created after a trip to Italy. As we walked I picked up random rocks and old pieces of tiles that I found on the roads. Every day I collected a few small treasures, and by the end of our trip I had a small plastic bag with assorted rocks and shards. I tinted the grout/adhesive mix so that it became a pale terracotta color, and filled the entire pot with my collection. This pot holds pairs of scissors on my kitchen counter.
Be sure to write on the bottom of your pot when and where the pieces were collected. I find that a pencil works well for this, and the writing stays even if the pot gets damp. I use such pots for holding plants, of course, but they’re also good as containers for trowels, garden labels, kitchen utensils or other objects.


