
Name: commonly called amaryllis but these cultivars in the genus Hippeastrum
Type of Plant: Bulbs that are grown indoors and prized for their huge flowers that bloom at the time of year when we really need such outrageous blossoms!
Why I love this: I love amaryllis bulbs because they are showy, easy to grow, and available in a variety of colors and sizes of flowers. I also love watching the process of their growth as they send up flower spikes, bud and then blossom – the development of the plant and flowers is as interesting as the final bloom! Given a few general guidelines, they are easy to bring into flower for years to come.
A Word to the Wise: Don’t keep these plants too wet. If they are given to you with foil wrapped around the pot, remove that so that excess water isn’t kept around the roots. After the plant has flowered it should send up green leaves. At that point keep your bulb in a sunny window and feed it regularly. I always put my plants outside in a place where they get morning sun and afternoon shade for the summer, and they get time-release fertilizer on a regular basis so that this will build up the strength in the bulb for the coming winter’s bloom.
If your bulb came in a plastic pot, repot it in a slightly larger clay pot before you place the plant outside – this will help prevent it from blowing over.
I was thrilled when Longfield Gardens sent me three of their Nymph series amaryllis bulbs. Here is how I potted them, and how you can easily plant amaryllis bulbs too.
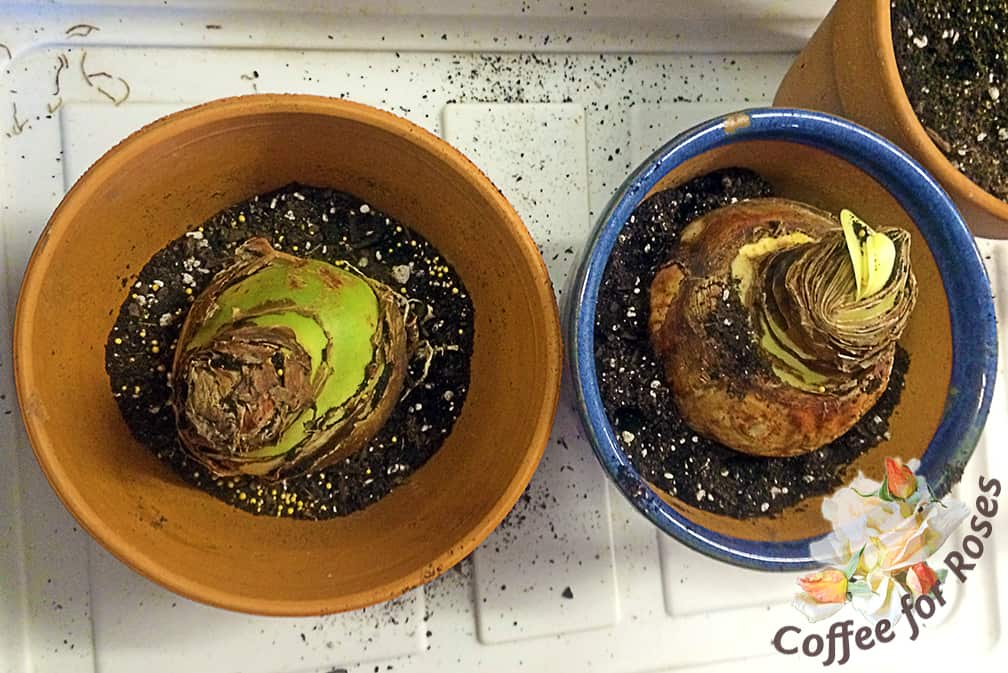
Choose a pot that is at least two inches wider than the bulb on all sides. Put some potting soil in the bottom of the pot without covering the drainage holes or putting any rocks or shards in the bottom. (Note: if you still are putting stuff in the bottom of the pots “for drainage” you REALLY need a copy of my book, Coffee for Roses. But I digress.) Place the bulb in so that, once you fill with soil to about an inch below the top of the pot, the top quarter to one third of the bulb will show above the soil surface.

Fill the remaining area with potting mix. Use a good quality potting mix because garden dirt is too heavy and contains weed seeds along with various fungi. Water the potting mix in well so that this settles it around the bulb. Once your bulbs are potted, place them in a sunny, warm window and enjoy the journey!


